I Ruined Three Batches Before Mastering Water Bath Canning Recipes for Tomatoes
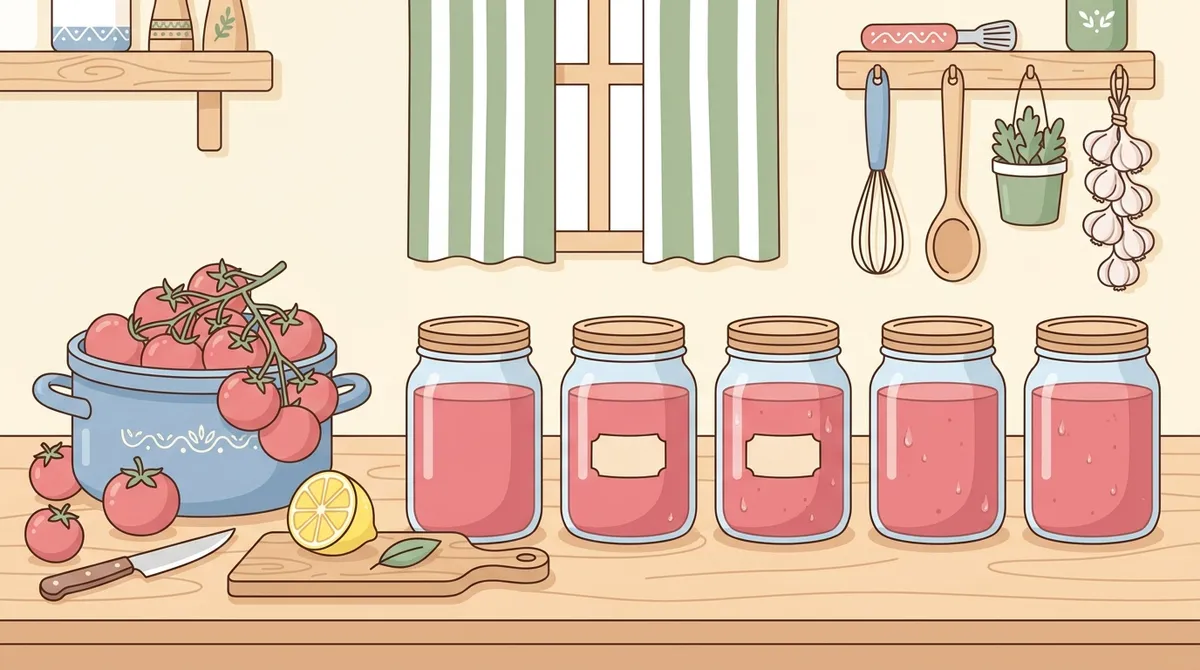
“You’re supposed to add lemon juice?” Ben looked at the six jars cooling on the counter like I’d told him the tomatoes were haunted. I’d already eaten a spoonful straight from the pot and handed him one too, so his concern felt a little late. But he was right to ask, and I was wrong not to know the answer before I started. That was batch one. Gone.
I’d spent the previous winter reading everything I could find about water bath canning recipes for tomatoes, and I still managed to ruin three batches before anything I made was actually safe to eat. Not just bad—actually potentially unsafe. That distinction matters, and it’s the part the cheerful canning blog posts tend to gloss over.
What actually goes in the jars (step by step)
Before I get into what went wrong, here’s what I actually do now that works. This is for crushed or whole peeled tomatoes in quart jars, which is mostly what I put up in late August when the garden is completely out of control.
- Wash and score your tomatoes, then blanch them in boiling water for 30–60 seconds until the skins split. Drop them in ice water immediately. The skins slip off easily at this point.
- Core and crush or leave whole, your choice. For quarts, I crush because they pack more efficiently.
- Add 2 tablespoons of bottled lemon juice per quart jar, or ½ teaspoon of citric acid. This is not optional. Do not skip it.
- Add 1 teaspoon of canning salt per quart if you want. It’s for flavor only and doesn’t affect safety.
- Pack tomatoes into hot sterilized quart jars, pressing down until juice covers them. Leave ½ inch headspace.
- Wipe rims with a damp cloth, apply lids and bands fingertip-tight.
- Process in a boiling water bath canner for 45 minutes at a full rolling boil (adjusting for altitude—if you’re above 1,000 feet, add time).
- Remove jars and let them sit undisturbed for 12–24 hours. Listen for the pings. Check seals before storing.
I use a Granite Ware 21-quart water bath canner, which runs about $35 at Tractor Supply. The rack insert is what makes it worth buying instead of just using a big pot. Wide-mouth quart jars are easier to pack—I use Ball brand because that’s what the feed store near us carries.
The first batch I threw out entirely
I did not add lemon juice. I knew tomatoes were acidic. I’d read somewhere that they were “borderline” in terms of pH, which I interpreted as meaning they were probably fine. They were not probably fine. The acidity of homegrown tomatoes varies a lot depending on variety and growing conditions, and a water bath canner does not get hot enough to kill botulism spores at low acidity. You need the acid to make the environment hostile enough.
Ben found the Ball Blue Book of Canning on a homesteading forum thread he’d been reading at some point, ordered it, and left it on the counter without saying anything. I found it next to my coffee mug two days after I’d thrown out the jars. It cost $10 and it tells you everything. I should have had it before I started. I didn’t, and those were probably 18 pounds of tomatoes from the garden that I just threw in the trash.
There’s no good part of that story. I didn’t learn a valuable lesson in a satisfying way. I just wasted a lot of tomatoes because I thought I’d read enough online and I hadn’t.
How to tell if your tomatoes are actually ready
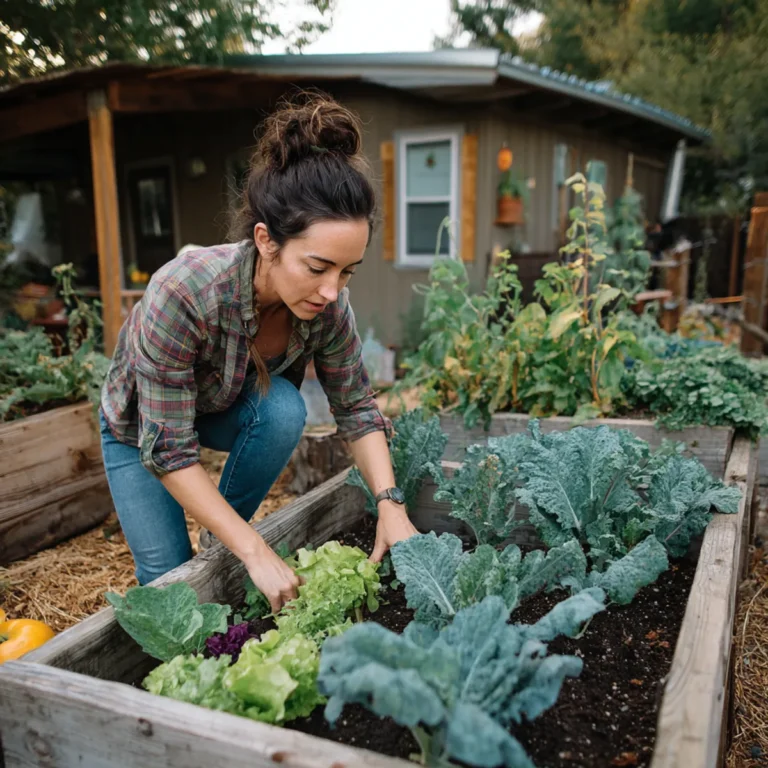
In Zone 7a here in Tennessee, our main tomato harvest runs from mid-July through early September, with the peak usually landing in August when it’s too hot to do anything else anyway. Timing your canning to your harvest sounds obvious until you have 40 pounds coming ripe at the same time and you haven’t set up your canning station yet.
A tomato ready for canning should give slightly when you press it, have no green patches near the stem, and smell like a tomato when you hold it near your face. Overripe is fine for canning—better than underripe, actually, because the flavor concentrates. What you don’t want is anything that’s cracked and been sitting in that crack for a day or more, or anything showing mold. One soft moldy spot in a batch of crushed tomatoes will affect the whole jar’s flavor. I learned this on batch three.
If you’re looking at a pile of tomatoes and some are borderline, process the good ones that day and put the questionable ones in the refrigerator to use within two days fresh. Don’t let the pressure to use everything push you into canning fruit that isn’t right.
- Always add bottled lemon juice or citric acid—non-negotiable for safety
- Process quart jars for 45 minutes at a full boil
- ½ inch headspace, fingertip-tight lids
- Get the Ball Blue Book before you start, not after
- Overripe tomatoes are fine; moldy ones are not
About the pectin question nobody asks
I’ve noticed that canned tomatoes from my garden have a different consistency year to year, and I can’t fully explain it. Some years the jars are thick and almost sauce-like even though I’m doing crushed tomatoes with nothing added. Other years the same process produces something more watery with the solids floating. I thought it was the variety at first—we grow Amish Paste and Cherokee Purple and whatever volunteer comes up—but I’ve had the same variety behave differently in different seasons.
Someone at the farmers market last fall told me it’s probably natural pectin variation in the fruit, which changes with growing conditions, soil moisture, and when in the season you’re harvesting. That might be right. I haven’t found a way to control for it and I’m not sure it matters for most uses. But I keep noticing it, and I don’t have a definitive answer, and I’ve stopped expecting to find one.
Why headspace matters (but sometimes doesn’t)
Every canning guide tells you to leave exactly ½ inch of headspace in tomato jars. I followed this rule carefully for all of my early batches. Then I had a batch where I was rushing—it was a Sunday evening, I had bookkeeping to finish, the jars were overfilled by probably ¾ inch—and every single one of them sealed perfectly. The tomatoes tasted fine. Nothing was wrong.
So I mentioned this to Ben, who said, “See, you overthink everything,” which is his answer to roughly 70% of problems. I told him that was not the lesson here. The lesson was that it worked that one time under those conditions and I still don’t know why, and I’m not going to make a habit of overfilling jars because the actual risk is that the seal fails or that contents siphon out during processing and compromise the seal from the outside. I’ve also had jars with proper headspace fail to seal. The ½ inch rule is correct. I am also telling you that I’ve broken it and been fine, which complicates things in a way I can’t fully resolve for you.
- Skipping bottled lemon juice and using fresh lemon instead (pH is inconsistent)
- Canning tomatoes that had cracked skin and sat in the crack overnight
- Filling jars too loosely so there were too many air pockets in the pack
- Letting the canner stop boiling mid-process and just resuming without resetting the timer
Seven things that can still go sideways after processing
- A jar that pinged during cooling and passed the press-down seal test still occasionally fails when I open it months later—the seal gives, the smell is off, the whole thing goes in the compost.
- Siphoning, where liquid gets pulled out of the jar during processing and leaves the tomatoes exposed above the liquid line. Sealed fine, but the exposed tomatoes discolor and sometimes mold.
- Rings that corrode over winter storage even in a dry pantry. I’ve started removing the bands after 24 hours as recommended, but I still get rust on rings I thought I’d dried completely.
- Tomato skins that didn’t fully separate during blanching and ended up in the jars as tough stringy pieces.
- The jar that seals so tightly I need a butter knife and a towel and Ben’s help to open it.
- Discoloration at the top of the jar—pink tomatoes going brown—which is apparently just oxidation and not a safety issue, but it looks alarming every single time.
- Losing track of which year’s batch is which when I get lazy about labeling. I have what I think is a quart from last August and what might be a quart from the August before that, and I genuinely cannot tell from looking at them.
Batch two and the vinegar experiment
After throwing out batch one, I read the Ball Blue Book cover to cover and tried again with proper lemon juice. But I’d also read that some people use a small amount of apple cider vinegar in addition to lemon juice for extra insurance on low-acid varieties. I added a tablespoon per quart alongside the lemon juice. I don’t know if it actually changed the safety profile, the flavor was slightly different—a little brighter, not unpleasant—and every jar sealed cleanly.
I did the same thing the following week without the vinegar, strictly by the book, and those jars were also fine. So I cannot tell you the vinegar did anything. I kept doing it for a while because batch two felt like the batch where things finally worked and I was afraid to change anything. Ben pointed out that this was not a scientific approach. He was right. I’ve since stopped adding vinegar because the official tested recipes don’t call for it and I’d rather follow tested ratios than improvise with acid levels. But I still think about batch two, and the way all twelve jars lined up on the counter and every single one of them pinged within the first twenty minutes, and I’m still not entirely sure what I did differently or whether it even