I Built Cottage Style Raised Beds Wrong (Here’s What Ben Fixed)
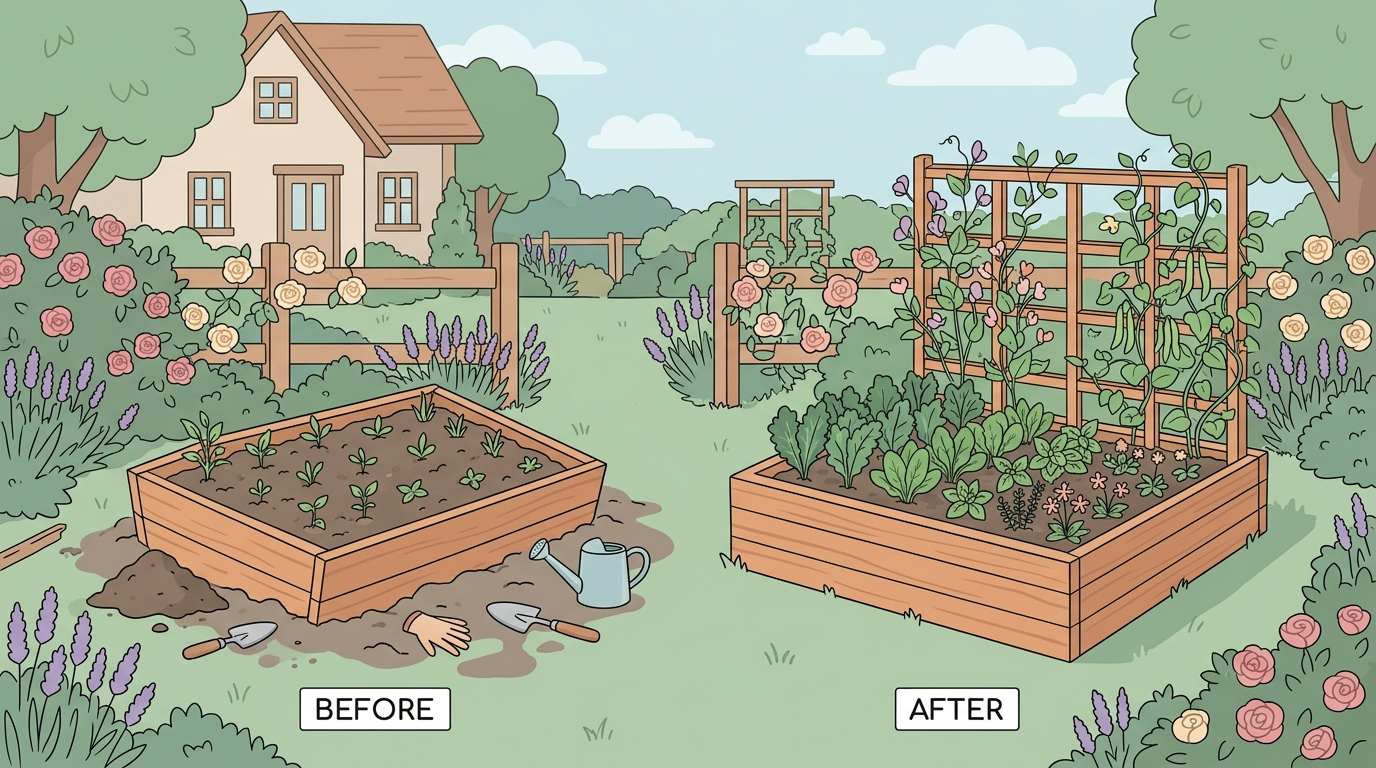
The first raised bed I designed looked great on paper. I’d spent a couple of weeks looking at cottage style raised bed gardening design on Pinterest and in a few old gardening books I’d ordered from a used bookstore, and I had this whole vision: cedar boards, soft curves, climbing plants on a trellis at the back, the kind of thing that looks like it belongs in an English garden. What I didn’t think about at all was whether the ground underneath was level, whether the wood I picked would hold up, or whether the dimensions I chose would actually fit the space we had. The bed looked fine for about six months. Then it didn’t.
I’m writing this looking back on our third growing season here on these five acres, which means I’ve had enough time to get things wrong more than once and actually figure out why. Some of what I learned was practical. Some of it is still unclear to me. I’ll tell you both.
Why Cottage Style Raised Beds Need Actual Structure
Whatever you want the beds to look like on the outside, the physical structure has to hold. This sounds obvious but it’s easy to skip over when you’re focused on aesthetics. The weight of wet soil is significant — a bed that’s 4 feet by 8 feet by 12 inches deep holds somewhere around 400 to 500 pounds of soil when it’s fully watered. If the boards aren’t thick enough, if the corners aren’t properly braced, or if the ground underneath shifts, the whole thing bows out within a season or two. Corner brackets matter. Board thickness matters. Minimum 2×6 for a shallow bed, 2×8 or doubled boards for anything deeper. Ben will tell you he eyeballed all of ours and they turned out fine. He is not wrong, but I also watched him build two beds before ours that are still holding up and then one after that went sideways in the second year. Eyeballing has a success rate that I don’t fully trust.
On unlevel ground — and our cleared pasture area is not level — you need to account for it at the start. Drive stakes on the downhill side, or add a board course to compensate. If you don’t, water pools at one end, roots rot, and the whole planting pattern you planned stops making sense. We learned this the expensive way.
What You Actually Need to Build One
- Lumber: Use cedar, black locust, or pine rated for ground contact (look for ACQ-treated lumber — current pressure treatment is considered safe for vegetable beds, but check the certification). For a standard 4×8 bed at 12 inches deep, you’ll need four 2x8x8 boards and four 2x8x4 boards, plus corner posts from 4×4 stock.
- Hardware: Galvanized or stainless deck screws, at least 3 inches. Corner brackets if you want extra stability — Simpson Strong-Tie makes decent ones for around $3–4 each. Don’t skip these on taller beds.
- Weed barrier (optional): Landscape fabric on the bottom slows grass intrusion. We stopped using it after year two because it interferes with earthworm movement and breaks down anyway. A few layers of cardboard works and composts itself over time.
- Soil mix: Don’t fill from native soil alone. A standard starting mix is roughly one-third compost, one-third topsoil, one-third something for drainage — coarse perlite, aged wood chips, or sand. A cubic yard of decent bagged raised bed soil runs $40–60 at most farm stores. We’ve also bought bulk from a local landscape supplier which was cheaper per yard but inconsistent in quality.
- Level and stakes: A standard 4-foot level and a rubber mallet. Takes maybe 20 minutes to set this up right. Worth it.
- Tools for the build: Circular saw or miter saw for cuts, a power drill, and clamps to hold corners while you drive screws. Total build time for one bed is about 3–4 hours if you haven’t done it before, less if you have.
A basic 4×8 bed costs us about $90–120 in lumber depending on current prices, plus another $50–80 to fill it. So roughly $150–200 per bed, all in. That’s without any decorative additions.
The depth question I still can’t answer
I’ve read confident arguments for both 12 inches and 18 inches as the right depth for a kitchen garden raised bed, and I genuinely don’t know which one is correct for our situation. We have three raised beds now at 12 inches, and they grow tomatoes and squash fine. But we also have two at 8 inches from our first year that seem to grow things just as well in wet years and worse in dry ones, which might just be the depth or might be drainage or might be that I put them in a slightly shadier spot. I’ve tried asking in forums and I get six different answers. The 18-inch argument is that roots need the room and soil retains moisture better. The 12-inch argument is that it costs less and is easier to fill and most vegetable roots don’t go deeper than 10 inches anyway. I don’t have a good answer here. If you’re building in Zone 7a like us, where summer heat is hard on soil moisture, deeper probably helps in July. But I can’t prove that.
Ben Says I Overthink the Aesthetic Part
I spent a lot of time before our second season researching what makes a bed look cohesive — matching heights, the right spacing between beds for visual flow, whether to use the same wood for all of them. Ben listened to about ten minutes of this on the porch one evening and said, “Rach, it’s a garden. Nobody’s walking around judging your spacing.”
The annoying part is that he built two beds that same weekend without measuring the spacing between them, and they look completely fine. The spacing is slightly inconsistent and it doesn’t bother anyone. Our most-photographed corner of the garden — the section near the herb spiral — has mismatched wood heights and one bed that’s been patched twice, and it still gets comments from people who come out to the property.
So the thing I said earlier, that structure matters, is still true. But the visual cohesion part I was worried about? He was right. It mostly doesn’t matter.
“The spacing is slightly inconsistent and it doesn’t bother anyone” is not the gardening advice I expected to give, but here we are.
How to Save Money on Cottage Style Without Looking Cheap
Budget matters and I want to be direct about it because most of the cottage garden content online seems to assume you have a lot of it.
- Skip cedar if cost is tight. ACQ-treated pine costs about a third of what cedar does and lasts nearly as long when you’re building above-ground beds. The treated lumber concerns people, but current treatment chemicals (not the old arsenic-based ones) are generally considered safe for food gardens. Do your own reading on this, but it’s what we use now.
- Buy lumber in standard lengths. A 4×8 bed is built from 8-foot boards with almost no cutting. If you customize the size, you pay more in time and waste.
- The cottage aesthetic comes from what grows, not what you build. Climbing plants on cattle panel arches (Tractor Supply sells them, roughly $25 per panel), sprawling zucchini, herbs pouring over the sides — that’s the look. The beds themselves can be plain.
- Fill with bulk soil, not bags. Calling a local landscape supplier for a bulk compost and topsoil mix usually beats the bagged stuff from the garden center by 30–40% per cubic yard once you’re filling more than one bed.
- Build one bed well instead of three beds fast. We did three in our first year with cheap wood and inadequate corner bracing. We ended up rebuilding two of them. One good bed would have cost the same.
- Use at least 2×8 lumber for beds 10 inches or deeper
- Brace every corner — brackets or 4×4 posts
- Level the ground before placing the bed frame, not after
- Line with cardboard instead of landscape fabric
- Water the soil mix thoroughly before planting to check drainage
The year we used untreated wood and regretted it
Our first two beds were built from cheap untreated pine. We didn’t want to spend extra on cedar and hadn’t done enough reading on wood options. They looked perfectly good going into the ground in April. By the following spring, the lower boards had soft spots in two corners where they’d been in contact with wet soil all winter. By year two, one side of the larger bed had bowed out enough that soil was pushing through the gap. We tore both of them out in the fall of our second year. There wasn’t a clever fix. The wood had rotted faster than it should have — not because untreated pine always fails immediately, but because our soil in that spot stays wet longer after rain than we’d expected, and untreated pine in saturated conditions doesn’t last. We just rebuilt them. It cost us another $160 in lumber we shouldn’t have had to spend.
That’s the whole story. No useful takeaway beyond: don’t use untreated lumber for in-ground or soil-contact applications.
Why the soil thing still confuses me
I have kept a garden journal since we moved out here. It’s useful mostly for recording what I planted and when, and it’s also a fairly complete record of my complaints about squash bugs. But when I look back at yield notes — actual pounds of tomatoes, number of harvests — I cannot figure out what made our good years good and our bad years bad.
Year one we used a bagged raised bed mix from the local farm store and got mediocre tomatoes and excellent squash. Year two we added compost from our own pile (mostly goat manure and kitchen scraps) and got excellent tomatoes and no squash at all, though that might have been the squash vine borers. Year three we bought a bulk landscape mix because it was cheaper, amended it with perlite for drainage, and got the best tomatoes we’d ever grown but the herbs were weak. I’ve read about soil pH, calcium levels, nitrogen ratios. I’ve tested our soil twice through the UT Extension service (free or very low cost, worth doing). The results were not obviously connected to what grew well.
I don’t know what’s causing the variation. I don’t know if it’s the soil mix itself or the weather in a given year or the spacing I used or something I’m not tracking. This is still unresolved. If you have raised beds and a clear theory about why some seasons are dramatically better than others, I would genuinely like to know.
TL;DR: Use braced, properly treated lumber. Fill with a compost-heavy mix. The aesthetic stuff matters less than the structural stuff, and even the structural stuff is more forgiving than I thought. Soil is still a mystery to me after three years.
Trying the no-border version (and what happened next)
Late in our second season, I read about loose cottage beds — no formal borders, just mounded soil with a good mulch layer holding the shape. The argument was that it looked more natural and saved money on lumber. I tried it in one section of the half-acre kitchen garden where I wanted to add growing space without building a new bed. I mounded compost and topsoil to about 8 inches, shaped it into an oval, planted into it directly.
It worked for about six weeks. Then we got three inches of rain in two days — normal enough for Tennessee in July — and the mound flattened out by about half. The soil migrated into the path. The plants were fine but the growing area was reduced and the path was muddy for the rest of the season. Pepper got out of her pasture fence that same week and found the mounded section before I noticed, which didn’t help.
The no-border version failed because mounded soil without containment doesn’t hold its shape in heavy rain. Which is basically the same thing I said at the start about structure mattering, just arrived at from the other direction. The bed I rebuilt in that spot used 2×10 boards and has held up through two full growing seasons since then, including a summer where we got more rain than the soil knew what to do with.
The boards cost $38 for that one small bed.