
I Tried Making Soft Cheese at Home—Here’s What Actually Worked
“Just use store milk,” Ben said, not looking up from his phone. “You’re going to over-research this and then not do it.”
He was mostly right. I’d spent two weeks reading about soft cheesemaking before I touched a single pot, convinced I needed raw milk from a specific breed of goat and a precise pH meter. What I actually needed was a gallon of whole milk from the grocery store and about forty minutes. If you’re looking for an easy way to make soft cheese at home for beginners, I’ll save you the two weeks: most of what I read was overcomplicated, and the simple version works fine.
What You Actually Need to Start
Before anything else, here’s the actual equipment list. Not the aspirational one with the cheese cave and the molds—the one that gets you a bowl of soft cheese tonight.
- A heavy-bottomed pot, at least 4 quarts. I use an old Lodge Dutch oven I got for $35 at a garage sale.
- A cooking thermometer. The cheap dial kind from Walmart works. Mine is a CDN ProAccurate that cost $12 and has survived three years of abuse.
- Cheesecloth or a thin flour sack towel. I use the Norpro flour sack cloths from Amazon, about $10 for a pack.
- A colander to set the cloth in.
- Whole milk—one gallon. Full fat. The ultra-pasteurized (UHT) kind is harder to work with; buy regular pasteurized if you can.
- An acid: white vinegar or lemon juice, roughly three to four tablespoons.
- Salt. Just kosher salt.
That’s it. Total startup cost if you have none of these things: maybe $25, and you’ll already own most of it.
Does the Milk Temperature Thing Even Matter
Every recipe I read gave me a temperature. Heat to 185°F. No, 190°F. One forum post insisted 180°F was the sweet spot and that going higher destroyed the proteins. Another said anything under 195°F wouldn’t curdle properly. I took notes on all of this like it was going to be on a test.
Then I made cheese at 183°F and it worked. I made it again at 192°F and it also worked. The curds looked slightly different—tighter at the higher temp—but both batches turned into edible, spreadable cheese. Ben watched me fuss with the thermometer the second time and said, “Does it matter? It’s hot. It’s forming those white clumps. That seems like the thing.”
I don’t have a clean answer here. Temperature probably matters more if you’re trying to make a consistent product every time. For just making something that works, the range seems forgiving. I’ve read that scalding the milk (around 185–195°F) is what you’re going for, and that precision matters more with harder cheeses. For soft cheese, I think you have more room than the recipes suggest. But I also don’t fully understand the chemistry, so take that with some skepticism.
My First Batch Turned Into Watery Disappointment
My first attempt curdled, drained, and produced about a cup of grainy white stuff that tasted like nothing and had the texture of wet sand. I put it in a container in the fridge and then ignored it for four days hoping it would improve on its own. It did not.
What went wrong: I used skim milk because it’s what was in the fridge. I found out later that fat content matters a lot for texture and flavor—skim milk produces sad, lean curds. I also didn’t salt it enough, and I rushed the draining step, pulling the cloth after fifteen minutes when it needed at least an hour. The result tasted like faintly sour nothing.
There’s no redemption arc to this part of the story. I threw it out, fed the whey to Pepper and June (they’ll drink anything), and didn’t try again for three weeks. Sometimes a bad batch is just a bad batch.
The 5-Minute Waiting Period That Changed Everything
The thing that actually fixed my cheese was not temperature precision. It was waiting five full minutes after adding the acid before touching anything.
I’d been stirring immediately after adding vinegar, which breaks up the curds as they’re forming and gives you grainy, uneven texture. A neighbor who makes cheese—she keeps a small dairy herd a few miles down the road and sells at the farmers market—watched me describe my process and immediately said, “You’re stirring too fast. Leave it alone.”
She was right. Here’s the revised process that actually works:
- Heat one gallon of whole milk in your pot over medium heat, stirring occasionally to prevent scorching on the bottom.
- Bring it to around 190°F. Watch the thermometer but don’t panic if you hit 185 or 195—the range is forgiving.
- Remove from heat. Add three to four tablespoons of white vinegar or lemon juice and stir gently once or twice to distribute it.
- Put the lid on and do not touch it for five minutes. Walk away. This is where the curds form properly.
- After five minutes, you should see white curds floating in yellowish whey. If you don’t see separation, add another tablespoon of acid and wait two more minutes.
- Ladle the curds gently into a cheesecloth-lined colander. Do not squeeze or press yet.
- Let it drain for at least one hour for a soft, spreadable cheese. Two hours gives you something firmer you can crumble.
- Salt generously—at least half a teaspoon per cup of cheese, tasting as you go. Under-salted fresh cheese tastes like a mistake.
- Don’t use ultra-pasteurized (UHT) milk if you can avoid it—the proteins behave differently and curdling is inconsistent
- Save the whey—chickens and goats will drink it, or use it in bread dough
- One gallon of milk yields roughly 1.5 to 2 cups of soft cheese, depending on how long you drain it
- The whole process takes about 90 minutes start to finish, most of which is waiting
Ricotta Worked Immediately, But I Still Don’t Know Why
Around the same time I was failing at basic soft cheese, I tried ricotta using almost the same method and it came out perfectly on the first attempt. Same milk, same acid, same pot. The texture was smooth, the flavor was clean, and I made two batches in a row without a problem.
I can’t fully explain why the ricotta worked when the other soft cheese didn’t. I’ve read that ricotta is more forgiving because of how the whey proteins behave at high heat. Maybe I was being more careful that day. Maybe I got lucky with the milk. I’ve since had batches of ricotta go slightly wrong and batches of basic soft cheese come out exactly right, and I still don’t have a reliable theory for what makes the difference. It’s a little annoying to not understand why something works.
About the Vinegar Versus Lemon Juice Situation
Both work. They behave differently. White vinegar produces a slightly firmer curd and a cleaner, more neutral flavor—better if you’re making something savory. Lemon juice curdles a bit slower and leaves a faint citrus note, which is nice in sweeter preparations or if you’re serving it with fruit and honey.
I’ve also seen recipes use citric acid powder, which you can get at Walmart or order from Amazon (about $8 for a pound that will last you forever). It behaves more like vinegar but dissolves cleanly. Ben prefers the lemon juice version, which I suspect is mostly because it smells better while it’s cooking. I usually use vinegar because I always have it and it’s consistent.
Neither one is more correct than the other. Use what you have.
How to Make Soft Cheese That Actually Tastes Like Something
Following the steps above will get you a base cheese. Here’s how to make it taste like food and not like a lab experiment:
- Salt while it’s still warm. Salt absorbs differently into warm curd than cold curd. Start with half a teaspoon per cup and taste before adding more.
- Add herbs immediately after salting—fresh chives, thyme, or rosemary work well. The warmth pulls the oils out of fresh herbs better than mixing into a cold cheese.
- For a creamier texture, drain for only 45 minutes and stir in a tablespoon of heavy cream at the end.
- For a firmer, crumblier texture, drain for two hours or longer and refrigerate uncovered for an additional hour on a clean rack.
- Let it rest in the fridge for at least two hours before eating. The flavor improves as it sits—a fresh batch eaten immediately tastes sharp and one-dimensional.
- Store in an airtight container for up to five days. It won’t last that long.
A gallon of whole milk runs about $4–5 depending on where you are. The yield is roughly two cups of finished cheese. That same amount of fresh chèvre at the farmers market runs about $8–10. The math works out, though honestly I’m not making it to save money—I’m making it because I wanted to understand where food comes from, and also because I had goat’s milk and a free afternoon.
I’m Still Not Sure If This Counts as Real Cheesemaking
I’ve seen people online argue that acid-curdled fresh cheese isn’t real cheesemaking—that you need cultures, rennet, aging, a controlled environment. Some of this is probably true. What I make is definitely on the simple end of a very long spectrum. No rennet, no cultures, no aging. Just milk, heat, and acid.
I don’t know enough about the craft to argue either way. I know this approach is a decent starting point if you want to make soft cheese at home without buying specialized supplies first. I know it produces something that tastes good on bread and impresses people at potlucks. Whether that qualifies as cheesemaking in any serious sense, I genuinely can’t tell you.
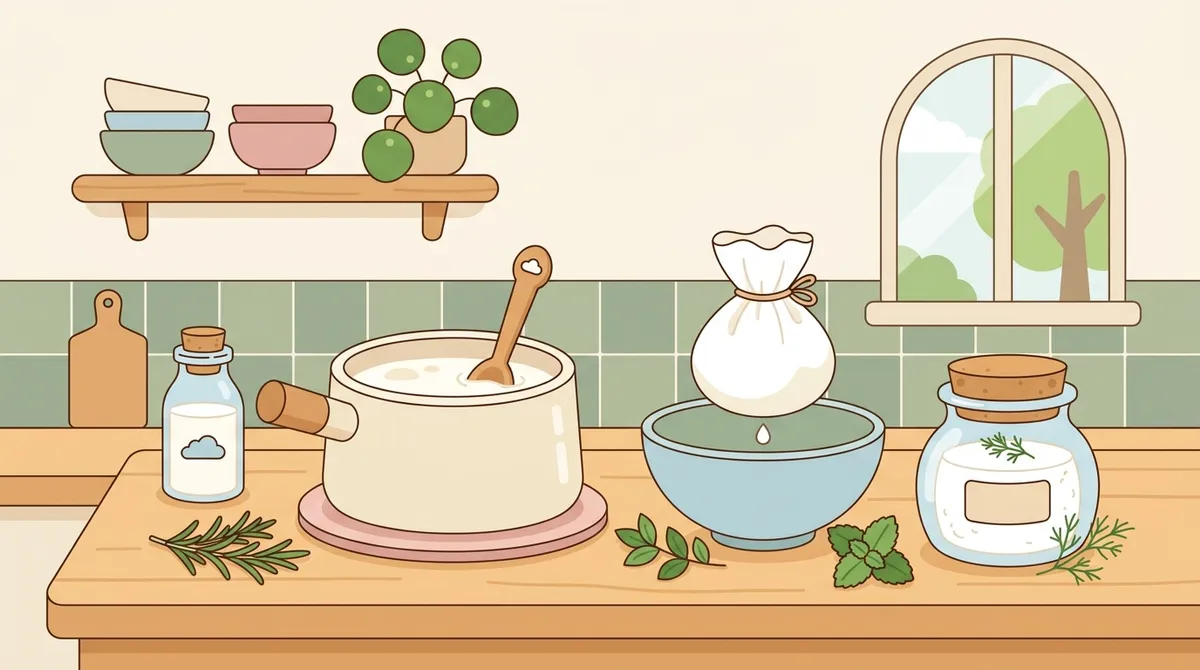
The cloth is draining right now, actually. I’ve got it suspended over a bowl on the counter, and the whey is dripping steadily into a jar that I’ll take out to Pepper and June later.
