I Killed Three Batches Before Getting Food Preservation Right (Here’s What Actually Works)
Nobody warned me that the first year of preserving food from the garden for winter would feel less like food security and more like an ongoing experiment in controlled rot. I had spreadsheets. I had a stack of canning books with sticky tabs on every other page. I had a pressure canner still in the box that Ben kept suggesting I just open and try already. What I didn’t have was any real understanding of why any of the methods worked, which meant when things went wrong, I had no idea what I’d actually done.
Three years in, I’ve lost batches I can’t explain and saved things I didn’t expect to save. The pattern, if there is one, is that the methods I understood at a basic chemistry level mostly worked. The ones I followed by rote mostly didn’t.
Start with fermentation, not canning
If you’re new to this and someone is telling you to start with water bath canning, I’d push back on that. Fermentation requires almost no equipment—a mason jar, a weight to keep things submerged, salt, and time. That’s it. You’re creating an environment where the wrong bacteria can’t thrive because the right bacteria got there first and dropped the pH. The method is forgiving in ways that canning isn’t, because you can actually see and smell when something’s going sideways before it becomes a food safety issue.
Start with something simple: shredded cabbage for sauerkraut, or sliced cucumbers with dill and garlic. Use non-iodized salt—iodized salt can inhibit fermentation. Two percent salt by weight to your vegetable weight is a solid starting point. Pack it tight, keep it submerged, leave it on the counter at room temperature, and check it in three to five days. In Tennessee summers, things ferment fast. In October, plan for a week or more.
What you’re looking for is bubbling activity and a sour smell that’s sharp but not rotten. If you see fuzzy mold on the surface, that’s usually from something floating above the brine rather than a full contamination. Skim it and check what’s underneath. If the whole thing smells wrong—not sour but putrid—that’s when you start over.
Why freezing actually destroys more than it saves
Ben’s default answer to everything in the first year was “just freeze it.” And I get it—it’s fast, it requires no technique, and it feels safe. But what freezing does to the cell structure of most vegetables is genuinely destructive. Water expands when it freezes. It bursts cell walls. The vegetables you pull out of the freezer in January are soft and waterlogged in a way that makes them fine for soups and stews and not much else.
The fix is blanching first—dropping vegetables in boiling water for one to three minutes, then immediately into an ice bath. This deactivates the enzymes that cause breakdown during freezer storage. It doesn’t fix the cell wall problem, but it significantly improves texture and helps preserve color. A good blanching pot and a reliable kitchen timer are worth buying if you’re going to freeze more than a few bags of beans.
Where freezing still makes sense: berries and fruits you’re going to cook down anyway, herbs you’ll throw into hot dishes, meat, and anything you plan to eat within two to three months. For long-term vegetable storage—eight months plus—freezing without a proper setup mostly just gives you freezer burn and disappointment.
Ben still disagrees with me on this. He thinks I overcomplicate it. Last February he pulled out a bag of tomatoes he’d frozen whole with no processing and used them in a sauce that was honestly pretty good. I still think he got lucky.
What humidity does to your root cellar experiment
We converted a corner of the basement into a rough root cellar setup during our second summer—insulated the walls, added a small vent, bought a cheap hygrometer from the hardware store. The target humidity for most root vegetables is somewhere between 85 and 95 percent. Potatoes want it higher. Onions and garlic want it much lower, almost dry. You cannot store both in the same space without compromising one of them.
What I can’t fully explain is why our sweet potatoes did well some months and not others, even when the temperature and humidity readings looked identical. There’s something happening at a more granular level—airflow, the specific curing time before storage, whether they touched each other in the bins—that I haven’t pinned down. I’ve read conflicting recommendations. Some sources say sweet potatoes want 55 to 60 degrees. Others say 55 is too cold and they’ll develop a hard core. Both things have happened to our sweet potatoes in the same corner of the same basement in different years.
I don’t have a resolution for this. I’m still tracking it.
How to preserve garden vegetables: 5 methods ranked by actual effort
TL;DR: Fermentation is the easiest entry point and fails gracefully. Pressure canning takes the most effort and has the highest safety stakes. Everything in between involves trade-offs between texture, time, and equipment cost.
- Fermentation — Lowest barrier to entry. Cost: basically just salt and jars you probably already own. Time investment: 20 minutes of active work, then waiting. Failure risk is low and usually visible before it becomes dangerous. Best for: cucumbers, cabbage, green beans, hot peppers.
- Root cellaring — No energy cost once set up, but you need the space and the right conditions. Initial setup can range from free (an insulated corner) to several hundred dollars if you’re building something proper. Failure tends to be slow and doesn’t always announce itself until you’re pulling out a bin of mush in March.
- Blanching and freezing — Moderate effort, moderate results. Requires freezer space (we use a chest freezer we bought secondhand for around $120). Best for high-volume harvests when you’re out of time and need a stopgap. Budget for freezer bags or vacuum seal bags—the cheap zipper bags let in air faster than you’d expect.
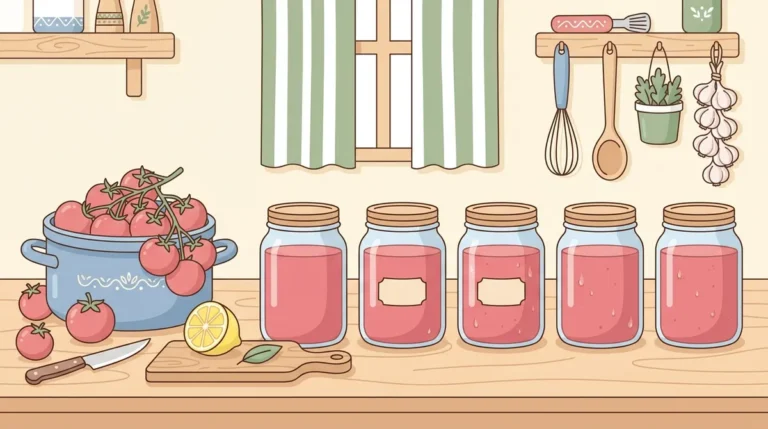
- Water bath canning — Requires a water bath canner or a large pot with a rack, mason jars, new lids each year, and strict attention to processing times. Only safe for high-acid foods: tomatoes with added lemon juice or citric acid, fruits, jams, pickles. Active time runs two to three hours per large batch. Failure risk is moderate if you follow tested recipes exactly.
- Pressure canning — The highest effort, highest equipment cost ($80 to $200 for a quality pressure canner like an All American or Presto), and the method where shortcuts can actually hurt you. Required for all low-acid vegetables, meats, and beans. Processing times are longer. It’s worth learning, but don’t start here.
Drying herbs worked but I still can’t explain why mine lasted and yours didn’t
I hang-dried most of my herb harvest this past summer—tied in small bundles from the kitchen ceiling, away from the stove. My oregano from the herb spiral lasted well into February with decent flavor. A neighbor down the road did the same thing at roughly the same time of year and hers went dusty and tasteless by December.
The differences I can identify: she dried hers faster using a food dehydrator at a low setting, I dried mine slower at room temperature. She stored hers in plastic bags, I used glass jars with tight lids. Her kitchen gets more direct afternoon sun than mine. Any of those things could matter. All of them together probably do. But I couldn’t tell you with confidence which one made the actual difference, or if it was something neither of us tracked.
If I had to guess, I’d say the glass jars are doing more work than I give them credit for. Plastic bags let in more moisture over time. But that’s a guess based on one comparison with one person.
The botulism conversation nobody wants to have
This is the part people skip or skim, and it’s the part that matters most. Clostridium botulinum produces a toxin in low-acid, anaerobic environments—meaning sealed jars of low-acid food that haven’t been processed to a high enough temperature to kill the spores. You cannot see it, smell it, or taste it. A jar can look completely normal and still be dangerous.
- Water bath canning is only safe for high-acid foods (pH 4.6 or below). Tomatoes are borderline and require added acid—lemon juice or citric acid per tested recipes, not just instinct.
- Pressure canning reaches 240°F, which water bath canning cannot. This is what kills botulism spores in low-acid foods. There is no workaround for this.
- Use tested recipes from the USDA Complete Guide to Home Canning or the Ball Blue Book. These aren’t suggestions. Processing times are calibrated to specific jar sizes and food densities.
- Don’t adjust recipes by substituting low-acid ingredients for high-acid ones. Don’t reduce processing times because your jars sealed fine. Don’t assume that because something worked last year it’s actually safe.
- When in doubt about a jar—if the lid flexes, if the contents smell off, if there’s any visible change—throw it out. This is not a “when in doubt, sniff it” situation.
Three years of failed batches and what I actually learned from them
The first jam I ever made—a blackberry jam from our first summer—set up fine and then grew a layer of white mold on top within three weeks. I had used less sugar than the recipe called for because it seemed like a lot. Sugar is not just sweetness in jam. It’s preservation. The recipe wasn’t being excessive; I just didn’t know what I was changing.
The second disaster was a batch of fermented green beans—dilly beans, traditional Appalachian recipe, something I’d been excited about since before we even moved out here. I used tap water with chlorine in it, which inhibited the fermentation bacteria, and the beans went soft and wrong-smelling within a week. They weren’t dangerous. They were just inedible. Filtered or non-chlorinated water matters for fermentation. Nobody in the three videos I watched mentioned it.
The third batch was a freezer situation. We had an ice storm in February of our second year and lost power for about 36 hours. I made the call to refreeze everything once the power came back because it still felt cold. Most of it was fine. The meat we cooked first. The vegetables that had already been blanched and frozen once came out of the second freeze as complete mush. I still used most of them—threw them into soups for the rest of winter—but it wasn’t what I’d planned on.
What I took from the jam: sugar, salt, and acid in preservation recipes aren’t negotiable the way spices are. What I took from the beans: the chemistry of your water matters. What I took from the freezer situation: I still don’t fully trust my own judgment about what can be refrozen.
Yesterday I started a new batch of fermented hot peppers from the last of what Pepper didn’t trample in the garden this fall. I’m using filtered water and a two-percent brine by weight. I’ll check it in four days. Whether it works is not something I can tell you yet.