Small Space Vegetable Garden Design That Actually Looks Good (And Produces)
Everybody online will tell you to “just go vertical” and suddenly your tiny patio becomes a thriving food forest. That advice isn’t wrong exactly, but it leaves out about half the relevant information, and the half it leaves out is the part that will actually trip you up. I spent a lot of time in our second summer here trying to get small space vegetable garden design and aesthetics working at the same time, and what I kept finding was that most advice treated those two goals as automatically compatible. They’re not always. Sometimes they pull against each other pretty hard.
We’ve got a half-acre kitchen garden, an herb spiral, three raised beds, and a greenhouse that lists a little to the left, so technically we’re not gardening small overall. But we’ve done a lot of work specifically in compact areas — the 12-foot strip along the farmhouse’s south wall, two of the raised beds that are hemmed in by the porch on one side and the fence on the other — and designing those spaces for both aesthetic small space vegetable garden production and real yield has taught me things I wish someone had said plainly before I started.
TL;DR: Small-space vegetable design works best when you stop trying to compress a big garden into a small one and start designing from the constraints outward. Vertical growing helps but creates real tradeoffs. Tight planting for looks can actually reduce yield. The materials question is genuinely unresolved and probably depends on your budget more than your preferences. Some things work and we don’t fully know why.
What Actually Changes When You Design FOR Small Instead of Against It
The standard approach is to pick a garden plan that works on a half-acre and shrink it. That’s the wrong direction. A small space has different physics than a large one — different airflow, different light patterns through the day, different root competition, different watering behavior. Designing for small means starting with those constraints and building choices around them, not trimming a big plan until it fits.
In practice, this means a few things. You’re choosing plants for their columnar or compact growth habits from the start — varieties like UT Extension-recommended bush beans over pole beans when trellis depth is limited, or container-suited tomato varieties like Tumbler or Bush Early Girl instead of indeterminate types that will take over every available inch. You’re planning around what the space actually does with light across the whole day, not just assuming “south-facing equals good.” And you’re accepting that some plants simply don’t belong in small spaces, which sounds obvious until you’re standing in the garden center in April trying to justify buying a butternut squash plant for a 4×8 bed.
We’re in Zone 7a here in Tennessee. Last frost typically lands around mid-April, first frost in late October. That gives roughly 180 days, which sounds like a lot until you start double-cropping a small space and realize how quickly succession planting gets complicated. In a small bed, you need to think about what comes out and what goes in almost before the first crop is done. That planning takes longer than the actual planting.
Vertical growing works, but it’s weirder than Instagram shows
Trellising and wall-mounted growing genuinely do expand what you can do in a small space. That part is true. But a few things happen that the nice photos don’t capture.
Shade is the obvious one. A 6-foot cattle panel trellis covered in cucumber vines will shade everything behind it for a meaningful portion of the day, depending on orientation. Most of the Instagram examples are shot in full-sun spaces where this doesn’t matter much. In a hemmed-in urban garden or a bed against a fence that already limits morning light, you can easily create a dead zone behind your vertical element without realizing it until the plants back there just fail to produce.
Watering is harder too. Dense vertical plantings dry out differently at different heights and depths. The top of the trellis is getting more wind exposure. Roots on heavily trellised plants are often shallower than you’d expect, especially in raised beds where the soil volume is already limited. We lost a cucumber trellis mid-season in our second year because the root zone dried out while I was focused on the soil surface. The plant looked stressed and I kept watering more, which wasn’t the right answer.
The question I still don’t have an answer to: how much does aesthetic trellis arrangement affect pollination? When I’ve arranged climbing plants for how they look against the south wall rather than for airflow and bee access, I think yield suffered. But I’ve never set up a clean comparison, so I genuinely don’t know if that’s the cause or if I’m pattern-matching on coincidence.
Where We Actually Started (And Why It Fell Apart)
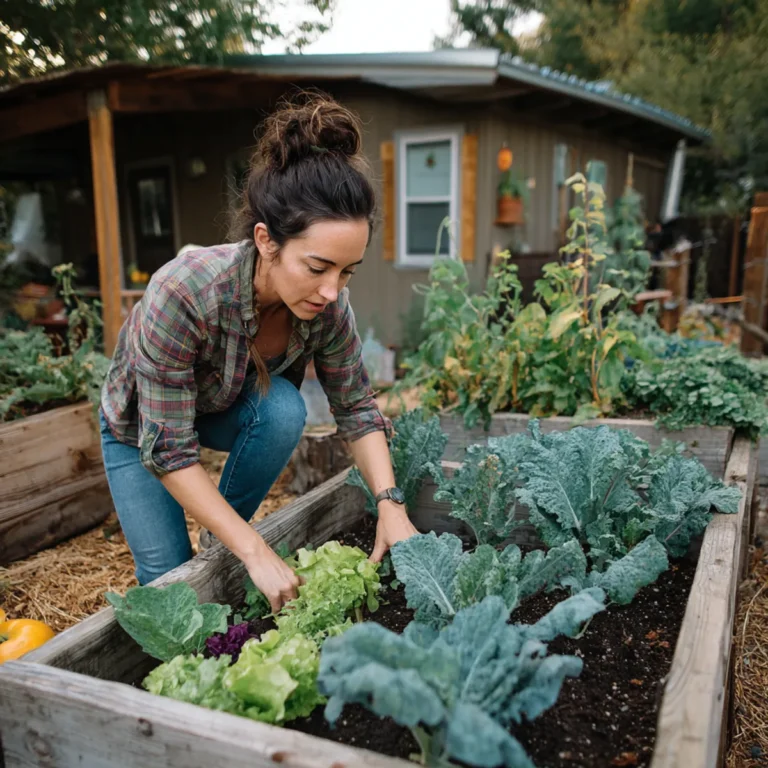
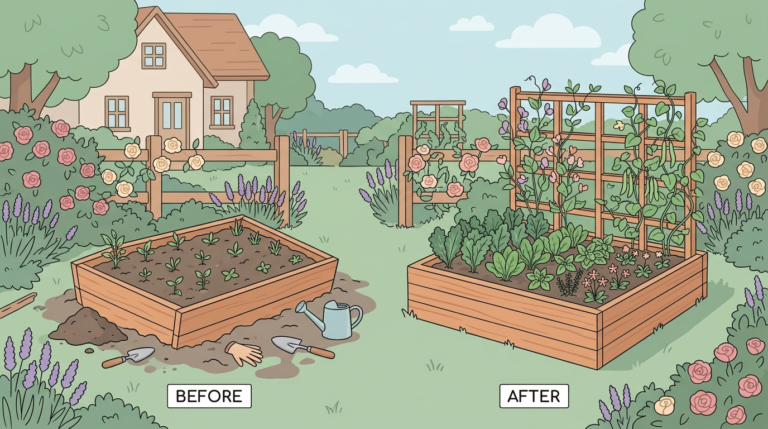
Our first attempt at a deliberate small-space design was a 4×8 raised bed in a cottage-garden style. This was year one, before I knew much of anything. The idea was to mix vegetables and flowers in a dense, romantic-looking planting — cosmos and basil and cherry tomatoes and a couple of nasturtium plants trailing over the edges. It looked genuinely nice for about three weeks in June.
Then the tomatoes started shading the cosmos. The basil bolted and got leggy. The nasturtiums took up more root space than I’d planned for, and the cherry tomatoes, which were an indeterminate variety I didn’t fully understand yet, began climbing the cosmos stakes and then running out of support entirely. By late July the bed was a tangle, yield was mediocre, and I couldn’t get to the tomatoes to harvest them without stepping on the nasturtiums.
- Indeterminate tomatoes in a cottage-style small bed — they don’t stop, and they ruin the layout
- Mixing plants with very different light needs at the same height
- Planning for how things look at planting, not at peak growth
- Using stakes designed for flowers to support vegetables
We didn’t fix it that season. We let it go, pulled it in September, and started over the next year with a clearer head. There was no real turning point. I just stopped trying to make that design work and designed something else.
Four Design Elements That Keep It Aesthetic
These are the principles that actually held up when I looked at what worked across three seasons of trial. This is also the section most useful for anyone starting from scratch.
- Repetition, not variety. In a small space, planting three of one thing reads as intentional. Planting one each of seven things reads as chaos. Pick two or three plants and repeat them. Even a 4×8 bed looks designed if it has a clear visual rhythm rather than a sample platter of everything interesting at the nursery.
- Negative space is productive space you’re not using yet. Bare soil or mulched gaps between plantings feel wrong when you’re trying to maximize yield, but visually they’re necessary. They also let you succession plant. An empty patch isn’t wasted — it’s where your next round of lettuce or radishes goes in six weeks.
- Material consistency matters more than material quality. A bed edged in mismatched lumber, random stones, and a couple of plastic borders looks cluttered no matter what’s growing in it. Pick one edging material and use it throughout. Cedar raised bed kits run around $80-150 for a 4×8 and look coherent. Plain Douglas fir at around $40 in lumber works just as well if cut cleanly.
- Design from your main viewing angle. Figure out where you actually look at this garden from — the kitchen window, the porch steps, the back door — and design the front edge and height progression for that angle. Tall plants at the back, lower plants at the front, visible structure at the corners. Purdue Extension has good basic guidance on plant height planning by bed orientation if you want a reference chart.
Ben says I’m still overcomplicating the layout
“You’re measuring the sight lines again. The tomatoes don’t care about the sight lines.”
He said that last April while I was standing at the porch steps trying to figure out whether the pepper plants would block the view of the herb spiral from that angle. He wasn’t wrong. I moved two plants six inches, decided it didn’t matter, and moved them back. Ben had already walked off to go check on whatever side project was happening in the barn. He designs by feel and it usually comes out fine. I design by overthinking it and it also usually comes out fine, just slower.
Tight spacing sometimes reduces productivity
This is where I want to complicate the vertical growing section a little, because the same impulse that makes vertical growing appealing — fitting more into less space — can work against you when applied to ground-level planting.
Spacing plants closer together for a lush, full aesthetic look does sometimes reduce yield per plant. Root competition, reduced airflow leading to fungal issues, and shading of lower leaves all contribute. Square Foot Gardening spacing guidelines, which I used a lot in year two, are denser than traditional row spacing for a reason — they’re calibrated for raised bed soil quality and assume you’re amending heavily. If your soil isn’t quite there, those dense spacings will stress plants. We grow in Zone 7a heat and humidity, and anything planted too close together in July is a fungal problem waiting to happen.
The honest answer is that a visually full, lush small bed and a maximally productive small bed are not quite the same thing. You can get close to both, but the overlap is smaller than most guides suggest. If yield is the priority, follow the seed packet spacing and accept that the bed will look sparse in the first six weeks. If aesthetics lead, plant a little closer and plan to lose some productivity.
The materials problem we still haven’t solved
I’ve gone back and forth on this for three years and I don’t have a clean answer. Plastic containers are cheap, light, and last a long time. The big round ones from Tractor Supply or the rectangular fabric grow bags work perfectly well for tomatoes and peppers on the porch. They look like plastic containers. That’s the whole problem.
Cedar planters and stone troughs look right. They cost significantly more — a cedar planter box in the 18-inch size runs $60-90, versus $12-20 for a comparable plastic pot. Stone troughs are either very expensive or very heavy DIY projects. We’ve done both and neither solution feels finished. The plastic ones that I’ve tried to disguise with wood cladding look like plastic containers with wood cladding. The cedar ones look great but need oiling every other year and Ben keeps pointing out that we could have bought more chickens with that lumber budget.
I’ve seen the galvanized stock tank trend and yes they look good, but they’re around $80-120 for the 100-gallon size and you have to drill drainage, which Ben is willing to do but does require borrowing a step bit from someone. We haven’t landed on a consistent material strategy and I don’t think we will soon.
What works when you stop expecting it to
The herb spiral has been the most genuinely successful design element in our small-space setup, and it succeeded in a way I didn’t plan for. The original goal was a structured, tiered herb planting with clear zones by moisture and sun preference. What actually happened is that the thyme, oregano, and one very aggressive chamomile plant started self-seeding into the gaps between the stones. By the second season the spiral looked full and intentional in a way it never had when I was deliberately planting it.
Volunteers from dropped tomatoes, self-seeded dill, and nasturtiums that came back from where I’d planted them two summers ago have done more for the aesthetic coherence of the kitchen garden area than anything I deliberately designed. I don’t know exactly why self-seeded plants look more natural than deliberately placed ones — something about irregular spacing and varied sizes, probably — but the effect is real and reliable enough that I now deliberately leave gaps in the design and just wait.
The practical version of this: if you have plants that self-seed reliably in your climate — dill, cilantro, nasturtiums, chamomile, some basil varieties — plan your small space with room for them to fill in over a couple of seasons. The USDA’s NIFA gardening resources won’t tell you this because it’s too slow and unpredictable for a planting guide, but it’s the truest thing I’ve learned about making a small vegetable space look good. Designed fullness rarely looks as good as fullness that happened on its own.
Start with your constraints, not your inspiration photos. The constraints are actually the design.