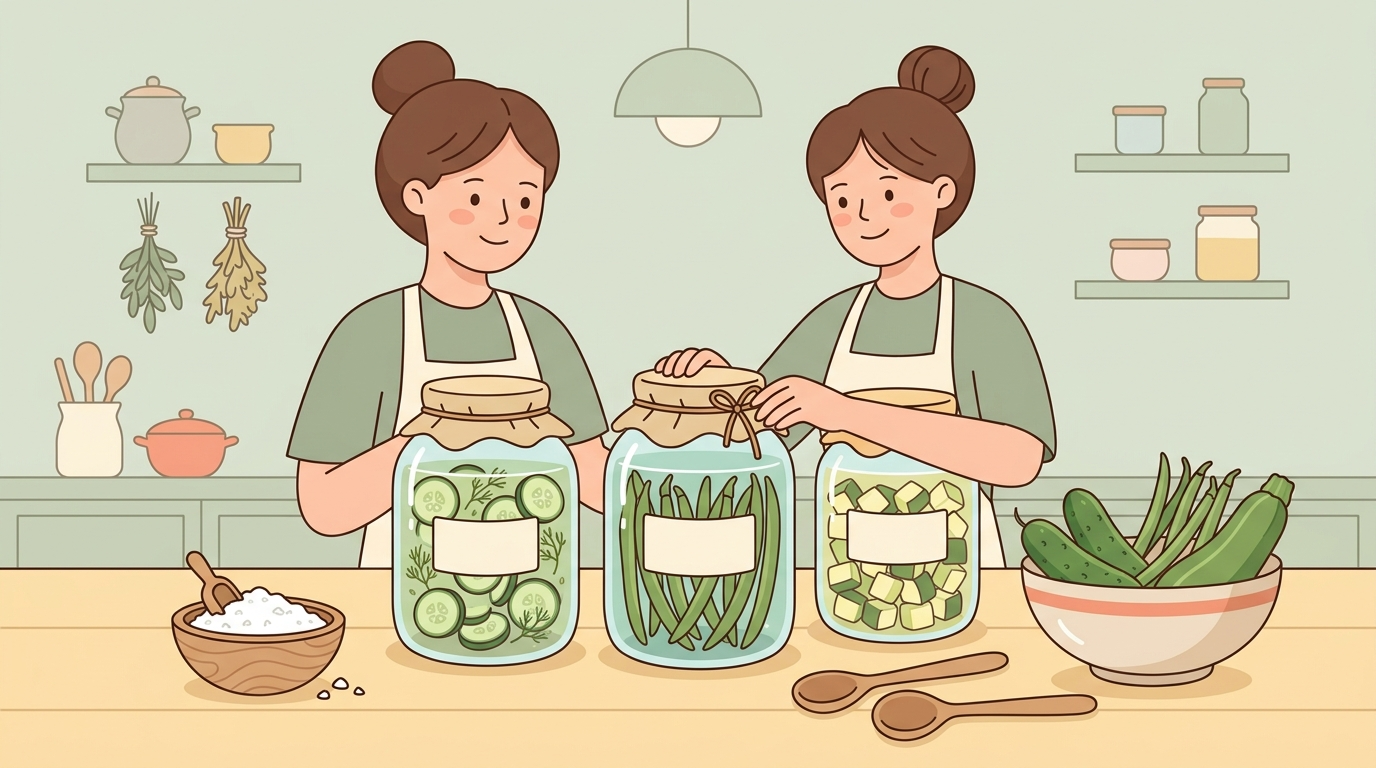
I Ruined My First Harvest—Here’s How Salt Preservation with Homemade Methods Saved It
By the end of my second August out here, I had more zucchini than I could eat, give away, or hide on the neighbors’ porches. The cucumbers had gone sideways. The green beans were ahead of me by four days and already tough. I’d read about preserving food with salt and homemade methods the previous winter, sitting at the kitchen table with three different books open at once, and done absolutely nothing with it. So when the harvest started drowning me, I had to either learn fast or watch most of it rot.
I got through it. Barely. And I ruined a full flat of cucumbers in the process, which was its own kind of education. What follows is what I actually did, what didn’t work, and a few things I’m still not sure about two summers later.
August, and everything was drowning
The zucchini situation happened fast. Three plants. That’s all I had. Ben had said three plants was reasonable, and I’d agreed, and we were both wrong in a way that’s hard to explain to someone who hasn’t grown zucchini before. You check them Monday and they’re finger-sized. You check them Wednesday and one of them is the size of a small dog.
The cucumbers followed about a week later. I picked what I could but I was also working my bookkeeping hours, and Pepper had gotten into the herb spiral again, and the chickens had decided the east side of the garden needed to be excavated. By the time I did a full walk-through of the garden, I had a harvest that was already past peak sitting in buckets on the porch in Tennessee August heat, which is not forgiving.
I didn’t have a pressure canner. I didn’t have a water bath canner set up. I had mason jars, a bag of pickling salt, and a vague memory of reading that lacto-fermentation required basically nothing. So that’s what I did.
How to salt-cure vegetables in 5 basic steps
This is the stripped-down version. No story, just process.
- Choose your salt. Use non-iodized salt — pickling salt or kosher salt. Iodized table salt will interfere with fermentation and can turn your brine cloudy in a bad way. Morton Coarse Kosher Salt works fine and costs about $3 for a box that’ll last you weeks of preserving.
- Make your brine. For most vegetables, a 2% to 3% brine is the standard starting point — roughly 1 tablespoon of fine pickling salt per 2 cups of water. For firmer vegetables or longer preservation, go up to 5%. Dissolve the salt completely in filtered or non-chlorinated water before using it.
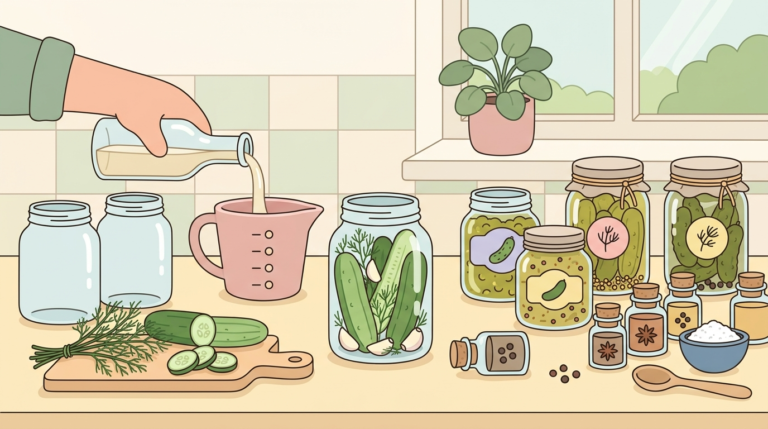
- Pack your jars. Clean wide-mouth mason jars work well. Pack vegetables tightly — cucumbers, green beans, zucchini coins, whatever you have — and add any flavorings you want. Dill, garlic, peppercorns, red pepper flakes. Pour brine over to cover, leaving about an inch of headspace.
- Keep the vegetables submerged. This is the part most people skip past. Anything above the brine line can mold. Use a small zip-lock bag filled with brine as a weight, or a folded cabbage leaf, or a purpose-made fermentation weight if you want to spend $8 on one.
- Ferment at room temperature, then move to cold storage. Leave jars on the counter, out of direct sun, for 3 to 7 days depending on your kitchen temperature. In Tennessee summer, my kitchen runs warm and things move fast — I check at day 3. Taste as you go. When the flavor is where you want it, put a lid on it and move it to the fridge or a cool cellar. It’ll keep for several months cold. The National Center for Home Food Preservation has detailed guidance on safe fermentation ratios if you want to go deeper on the food safety side of this.
Why I didn’t buy a proper canner
Honest answer: the cost, the learning curve, and the fact that our kitchen is small and already full of things Ben has started building and not finished. A good pressure canner runs $100 to $200. The Ball Complete Book of Home Preserving, which everyone recommends and which I do own, is excellent — but learning to use a pressure canner properly takes time I didn’t have in mid-August when the zucchini was already happening.
I also read enough about botulism risk in improperly canned low-acid vegetables to decide that if I was going to do this without supervision, I was going to do it the way that had the most room for error. Lacto-fermentation doesn’t carry the same botulism risk as improper pressure canning, because the salt creates an anaerobic, acidic environment that’s hostile to that particular bacteria. That’s not a reason to be careless — the USDA is pretty clear that you should follow tested ratios rather than winging it — but it does mean the failure mode is usually obvious. Things that go wrong in fermentation smell wrong. I find that reassuring.
The water bath canner I eventually bought cost $35 at Tractor Supply and works fine for high-acid foods. But that came later.
Salt draws out the water, but it also does something else
Nobody warned me about the texture change. Or people did warn me — I’d read it — but I didn’t understand it until I opened my first jar of fermented cucumbers and bit into one. They’re not crunchy the way a fresh cucumber is crunchy. They’re a different thing. Firm, but yielding. The cell structure has changed in a way that’s permanent and a little strange if you weren’t expecting it.
The zucchini went in looking like zucchini and came out looking like something that had made a decision.
The flavor concentration is real and also catches you off guard. A fermented green bean tastes more like a green bean than a fresh green bean does, in a way that’s hard to explain. The salt pulls out moisture, the lactobacillus bacteria produce lactic acid, and whatever was subtle about the vegetable’s flavor before is now right in front of you. Sometimes that’s great. My fermented dilly beans are better than I expected. The zucchini was — fine. Edible. Not something I’d serve to guests.
What I’ve noticed over two summers: vegetables that are already a bit past peak don’t improve. Salt preserves what’s there. It doesn’t reverse four days of sitting in August heat. The cucumbers I lost that first year were too far gone before I started. I should have started earlier, which is advice that helps nobody in the middle of a harvest crisis.
The jars still look weird sometimes
White sediment at the bottom of the jar: normal. That’s spent lactobacillus and it’s harmless. Cloudy brine: also usually normal in fermented vegetables, unlike in vinegar pickles where cloudiness means something went wrong. A white film on top that’s thin and flat — called kahm yeast — is mostly harmless but should be skimmed off.
Soft spots on individual pieces of vegetable that were fine when they went in: I’m less sure about those. I’ve thrown out jars for that and also eaten jars that had one soft cucumber and been fine. I don’t have a good rule here. What I do know is that anything that smells genuinely bad — not sour, not funky, but bad — gets thrown out without debate. Trust your nose on ferments. It will not lie to you.
The grape leaves that some recipes recommend adding (for tannins, which help keep cucumbers crisper) do seem to help. I started adding a leaf or two from the wild grape that grows along our fence line and got noticeably better texture. Oak leaves work for the same reason.
Does any of this actually save money?
I’ve tried to do this math a few times and I keep not liking the answer. Salt is cheap. Jars are cheap once you have them, though the upfront cost adds up — a case of wide-mouth quarts runs about $13 to $15 and you’ll want several cases. The vegetables cost me nothing because I grew them.
But I spent probably four hours on a Saturday processing one big harvest. Four hours of washing, trimming, packing, making brine, labeling. And then another hour a week later checking on things, skimming kahm yeast off one jar, throwing out one jar that smelled wrong. If I billed that time at even my basic bookkeeping rate, the preserved vegetables are expensive. More expensive than buying the same thing at the store.
Ben pointed this out, reasonably, when I mentioned it. His take was that the point was never purely economic. He’s probably right, but I also can’t quite shake the feeling that the pitch for home food preservation is usually framed as thrift, and the actual math is complicated enough that I want to be honest about it. You’re not saving money in any straightforward sense. You’re converting time into food, which is a different calculation that each person has to make for themselves.
What it does do is reduce what gets thrown away. That first August, I saved probably 15 to 20 pounds of vegetables that would have otherwise composted. Whether that matters enough to justify the labor is a question I haven’t resolved and probably won’t.
What preserving food with salt actually costs (besides money)
Here’s what you actually need, without the mystique:
- Wide-mouth mason jars: Wide-mouth quarts for most vegetables, pints for smaller batches. Ball and Kerr are interchangeable. Buy used at thrift stores if you can find them — inspect for chips on the rim.
- Non-iodized salt: Pickling salt dissolves fastest. Morton Coarse Kosher Salt is a good alternative. Do not use table salt with anti-caking agents — it makes the brine cloudy in a way that’s actually a problem, not just cosmetic.
- Filtered water: Tap water with heavy chlorine can slow or kill the fermentation. If your tap water smells strongly of chlorine, let it sit out overnight or use filtered water.
- Fermentation weights or improvised substitutes: Small zip-lock bags filled with brine work fine. Dedicated glass fermentation weights cost $8 to $12 for a set and are easier to clean.
- Cool storage space: A fridge for small batches. A root cellar or cool basement for larger quantities — you’re looking for consistent temps around 35 to 50°F. Our farmhouse has a section of the basement that stays cool enough through October; after that I use the fridge.
- Time: 3 to 7 days of active fermentation. Check daily. Taste at day 3. The actual hands-on time per check is about 5 minutes, but you need to be home and paying attention for a week.
- A reliable reference: The National Center for Home Food Preservation has tested recipes for fermented vegetables that I trust more than most blogs, including this one. Use their brine ratios rather than improvising, especially at first.
What you don’t need: a crock, a special fermentation lid, a pH meter, a starter culture. Lacto-fermentation happens on its own given salt, vegetables, and time. The extra equipment helps, but the basics genuinely are basic. Tennessee Cooperative Extension also has food preservation resources specific to our climate that are worth bookmarking before next August hits.
The one thing I’d tell someone starting out: do a small batch first. One jar. See if you like how it tastes, see if you can pay attention to it for a week, see if your kitchen temperature runs hot or cool and how that affects the speed. Then scale up. Don’t do what I did and learn by throwing a flat of cucumbers at a method you don’t understand yet under time pressure in August heat.