How We Preserve Food with Salt (Without Buying Anything New)
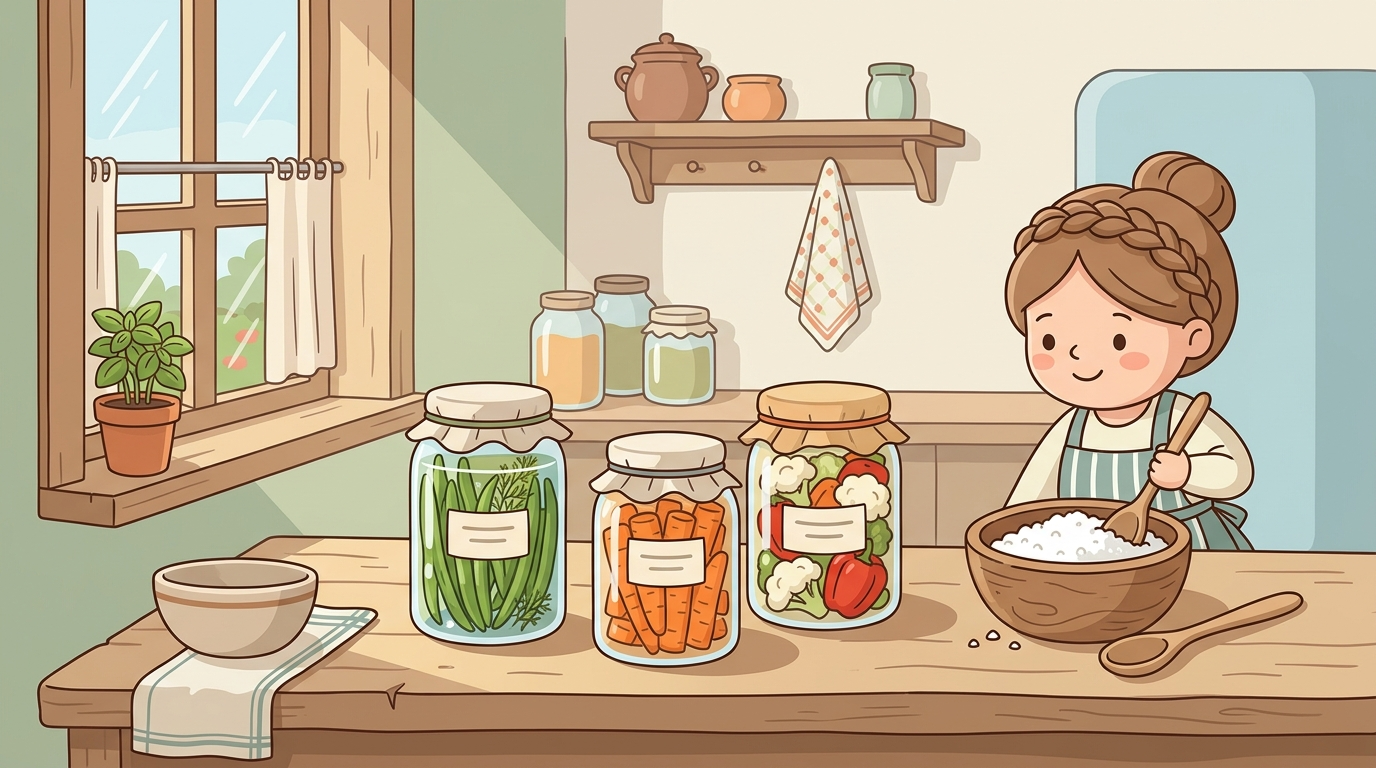
The goats were yelling at me from the fence line when I remembered I’d left a bowl of green beans salting on the counter since morning. Pepper had gotten her head stuck in the wire again—not through it, just into it enough to be dramatic—and by the time I got June away from the gate post she’d been chewing, I’d completely lost track of what I was doing inside. Salt preservation is like that on a working homestead. You start something, you walk away, and somehow it usually still works. That forgiving quality is half of why homemade methods for preserving food with salt have stuck around here, even after I’ve tried fancier approaches.
We’ve been at this for about two years now—salt-curing vegetables, doing a little lacto-fermentation, putting up fish a couple of times. None of it requires equipment you don’t already have. The learning curve is mostly just trusting a ratio and leaving things alone.
The basic ratio that actually matters
Two percent salt by weight. That’s it. That’s the number everything else builds from. If you don’t have a kitchen scale, stop here and get one—a basic digital scale costs around $10 at Walmart and it will change how you preserve. Eyeballing salt is how you end up with mush or nothing happening at all.
Here’s how to apply it:
- Weigh your vegetables or meat in grams.
- Multiply by 0.02.
- That number is your salt in grams. Add it. Mix it in.
- Pack tightly into a clean jar, pressing out air gaps as you go.
- If you’re fermenting, make sure the food stays submerged below the brine line.
For a dry cure on thicker things—fish, pork belly—you’re looking at more like 3% and a longer rest time, somewhere between 5 and 10 days in the fridge depending on thickness. The National Center for Home Food Preservation has specific guidance by product type, and for anything involving meat, I’d read that before trusting anyone’s blog, including mine.
Why I started doing this (spoiler: not for Pinterest)
Our first summer out here, we had more cucumbers than I knew what to do with. I’d planted two varieties from Baker Creek seeds and both of them decided to be extremely successful at the same time. I had no canner. I had no plan. I had a five-pound bag of pickling salt and a memory of reading something about lacto-fermentation in a library book I’d already returned. So I made a brine—roughly one tablespoon of salt per cup of water—stuffed cucumbers into mason jars with some dill from the herb spiral, and left them on the counter for a week. They were genuinely good. Ben ate half of one jar standing at the counter and said “okay, do more of these,” which from him is basically a formal endorsement.
That’s where this started. Not from a plan. From a cucumber surplus and a borrowed idea.
I had no canner, no plan, and a five-pound bag of pickling salt. The cucumbers turned out fine. That’s mostly how we learn things out here.
Salt-curing vegetables: 5 things that go differently than you’d think
- The smell is not a sign of failure. Fermentation smells funky. Sometimes it smells very funky. A slightly sour, yeasty smell is normal. What you’re looking for is anything that smells putrid or cheesy—that means something went wrong, not just something is working.
- Bubbles mean it’s alive. You should see small bubbles forming within 24 to 48 hours in warm weather. In our Tennessee summers this happens fast. In winter, with our drafty farmhouse, it can take four days. Don’t add more salt if nothing’s happening yet—just wait.
- The vegetables shrink a lot. A quart jar packed with green beans will look half-empty after a week. This is fine. The beans are releasing water into the brine.
- Iodized salt will kill your ferment. Use pickling salt, canning salt, or kosher salt without additives. Iodine is antibacterial, which is exactly what you don’t want when you’re trying to grow beneficial bacteria.
- White foam at the top is not mold. Skim it off. It’s just kahm yeast—harmless but bitter if left in. Actual mold is fuzzy and usually colored. If you see fuzzy growth on the food itself (not just the brine surface), that batch is done.
The fermentation jar situation
You don’t need an airlock. You really don’t. We have a set of wide-mouth mason jars that have been fermenting vegetables for two years. I burp the lids once a day—just loosen, let the gas escape, retighten. That’s it. Fancy fermentation crocks are nice. The $40 glass weights are nice. None of it is necessary for basic vegetable fermentation. A clean jar with a lid is enough.
Where I’ll contradict what I said earlier about ratios: for very large batches, like a half-gallon of kraut, the 2% rule still applies but the margin for error is tighter. Big batches seem to go wrong more often than small ones in my experience, which is the opposite of what I expected. Start with quart jars until you know what a successful ferment looks and smells like. Scaling up is easy once you’ve got the baseline.
- Use 2% salt by weight for vegetables, 3% for meat/fish
- Get a digital kitchen scale — it’s the only tool that actually matters
- Plain mason jars work fine, no airlock needed
- Iodized salt kills the ferment — use pickling or kosher salt
- Smell and bubbles are your main progress indicators
- Check NCHFP guidance for anything involving meat before you start
We threw out three jars last spring
March, so the farmhouse was still cold enough that fermentation was slow. I had three quart jars of preserved green beans that I’d put up in November—properly salted, properly submerged, burped regularly. When I opened them in March, two smelled wrong in a way I couldn’t fully explain. Not putrid, but off. Flat, somehow, and slightly slimy on the beans themselves. The third jar had visible pink fuzz along the shoulder of the jar that I had missed for at least two weeks because I hadn’t been checking the sides carefully, just the brine surface.
All three went into the compost. I don’t know exactly what went wrong with the first two. I suspect the temperature fluctuations in that corner of the kitchen—it gets cold drafts from the window beside the sink—slowed the ferment enough that something else got a foothold before the lactobacillus could dominate. That’s my best guess. I didn’t figure out a solution. We just moved where we store winter ferments, to a spot above the refrigerator where it stays warmer.
Does humidity matter this much?
Possibly. I’ve noticed that our summer ferments—June through August in Tennessee, where the humidity is genuinely unpleasant—go faster and seem to have a lower fail rate than our winter ones. Whether that’s the temperature, the humidity, or just that I’m paying more attention in summer because I’m in the garden more, I genuinely can’t tell. The University of Tennessee Extension doesn’t have a lot on fermentation humidity specifically, and most of what I’ve read elsewhere is anecdotal.
What I’ve noticed practically: jars stored near an outside wall in our drafty old farmhouse do worse. That might be temperature. It might be that the humidity near those walls is lower in winter because of the cold air seeping in. I’ve stopped trying to fully understand it and just store ferments on a high interior shelf. Results improved.
Salt-cured fish, salt pork, and why Ben won’t eat either
We’ve cured fish twice, following the NCHFP guidelines for salted fish, and salt pork once. All of it technically worked. The salt pork was firm, had the right color, kept well in the root cellar for a few months. The fish came out tasting like salt with a fish memory inside it. Ben tried both once each and made a face that was polite but communicative. He’ll eat fermented vegetables with no complaints, but something about the texture of heavy-cure preserved meat bothers him. He’s not wrong—salt pork in particular is genuinely very salty unless you soak it for hours before cooking.
We still do it occasionally. Partly because I want to keep practicing. Partly because I read about it and felt like we should know how. Whether we’ll ever actually rely on it, I’m not sure. It hasn’t made it into regular rotation.
What actually tastes good after three months
Honest answer: not everything. After three years of trying various preserved foods with salt, here’s what we actually eat versus what we make and forget about:
- Lacto-fermented cucumbers — consistently good, we go through them fast
- Fermented green beans (dilly beans) — better than I expected, good through winter
- Kimchi-style fermented cabbage — yes, even without the Korean chile paste, plain salted cabbage aged two months is genuinely interesting
- Salt-preserved lemon rinds — we use these in cooking constantly, best thing we make
- Fermented hot peppers — from the garden, make your own hot sauce base, highly recommend
- Salt pork — works, but only if you actually plan to cook with it; we don’t, mostly
- Salted fish — preservation method works but requires recipe planning we haven’t committed to
The salt-preserved lemons are the thing I’d tell someone to start with, actually—not fermented vegetables. You just quarter them, pack them into a jar with a serious amount of kosher salt, and wait a month. Use them in salad dressing, with chicken, in pasta. They taste expensive and they cost almost nothing to make. That one’s worth the counter space every time.