How We Started Preserving Food With Salt (And Never Bought Expensive Gear)
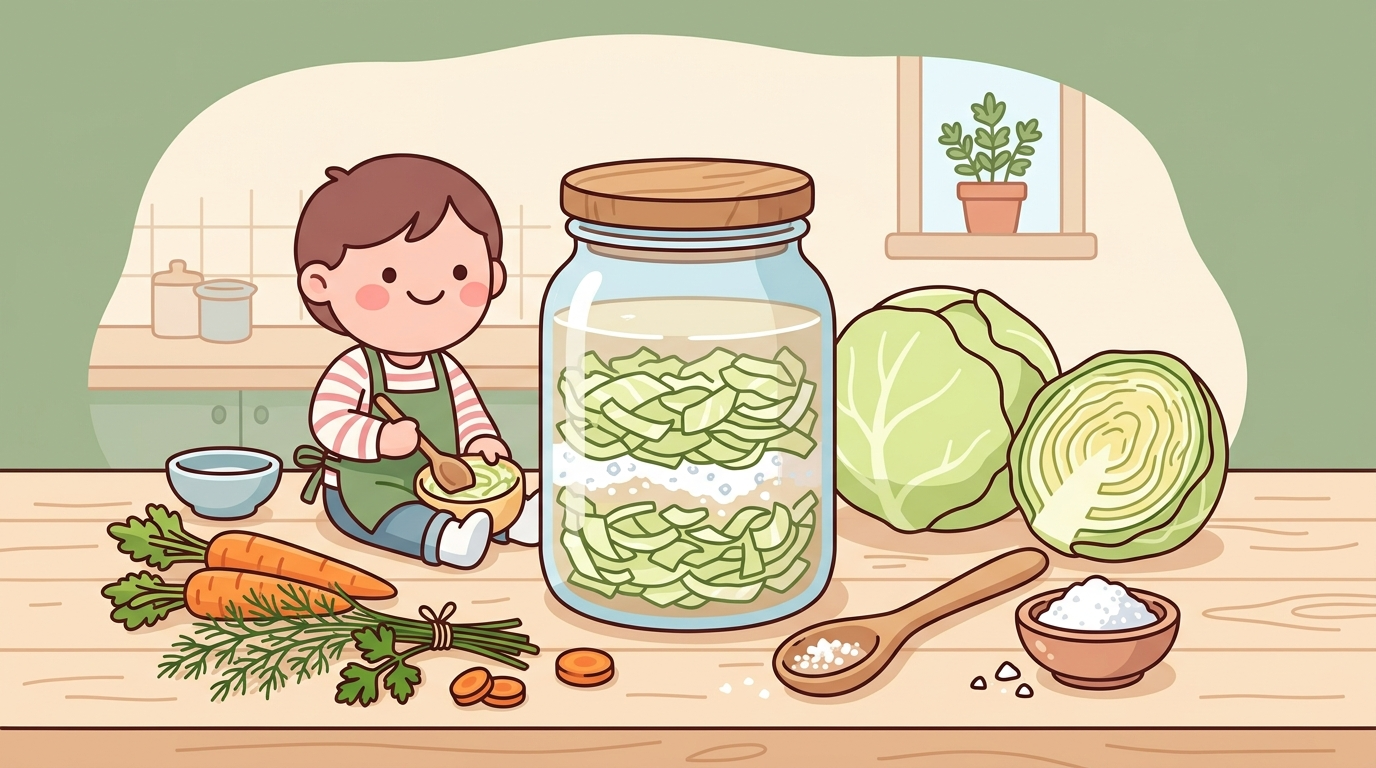
The smell of salt brine is sharp in a way that catches the back of your throat. Not unpleasant, exactly, but insistent. That’s what hit me the first time I packed a jar with cabbage and kosher salt and pushed it down until liquid rose over the top — this very direct smell that said something was actually happening in there. That was our second summer on the property, and I’d been looking into homemade methods for preserving food with salt after our chest freezer nearly died during a heat wave and I panicked about losing a month’s worth of garden produce. No fancy equipment ordered. No crock that cost ninety dollars. Just salt, jars, and produce I was about to lose anyway.
I want to be upfront: salt preservation is not the simple, hands-off method a lot of articles make it sound like. It’s cheaper than buying a vacuum sealer or a pressure canner setup, and it works, but “simple” isn’t the right word. There’s monitoring involved. There’s failure. Some batches don’t make it. But if you want to get started preserving food with salt using what you already have, here’s what I’ve actually learned.
What you actually need to start
The equipment barrier is almost entirely false. You do not need a fermentation crock, a weights kit, or any specialty gear to get started. Here’s the actual list:
- Non-iodized salt. This is the one non-negotiable. Iodized table salt interferes with fermentation and can turn things mushy or bitter. Kosher salt or pickling salt are both fine. I buy the big 3-pound bags of Diamond Crystal kosher salt — usually around four dollars at any grocery store.
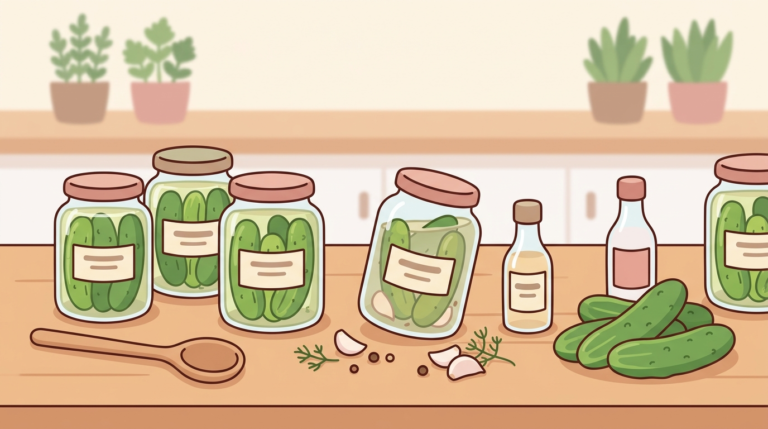
- Wide-mouth glass jars. Mason jars in quart or half-gallon sizes work well. You probably have some already. If not, a 12-pack of wide-mouth quarts runs about twelve to fourteen dollars at Tractor Supply.
- Something to weigh the produce down. A smaller jar filled with water set inside a larger jar does this. A zip-lock bag filled with brine works too. Nothing to buy.
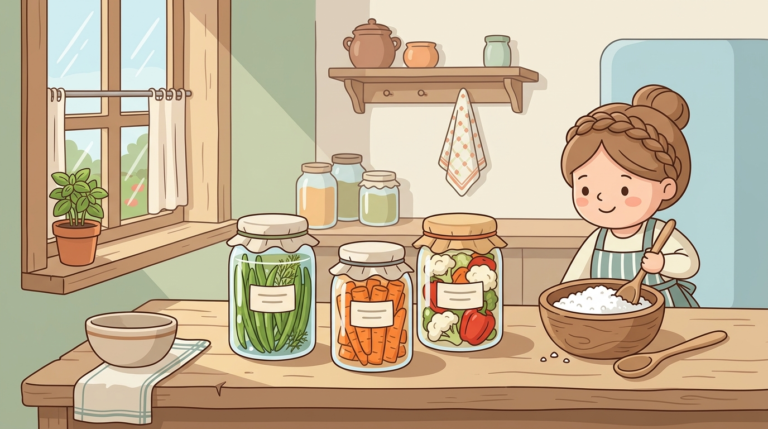
- Fresh produce. Cabbage, green beans, cucumbers, carrots, beets, garlic, and hot peppers all work well. Green tomatoes if you have them toward the end of the season.
- A cool, stable place to store jars during fermentation. Ideally between 65 and 75 degrees Fahrenheit. Our farmhouse runs cold in the back hallway, which turns out to be useful for exactly this.
That’s it. The National Center for Home Food Preservation has solid guidance on safe salt concentrations for different vegetables if you want to verify ratios before you start — I’d recommend reading through their fermentation section at minimum.
How to salt-cure vegetables at home
There are two main methods: dry salting and wet brining. They suit different vegetables and produce different results.
Dry salting works best for high-moisture vegetables like cabbage or cucumbers. You add salt directly to shredded or sliced produce, mix it thoroughly, and let it sit until the salt draws out enough liquid to submerge the vegetable in its own brine.
- Shred or slice your vegetable thin and uniform — thicker pieces take longer and cure unevenly.
- Weigh your produce. Use roughly 2% of the produce’s weight in non-iodized salt. For two pounds of cabbage, that’s about one and a half teaspoons of kosher salt.
- Mix salt and produce thoroughly in a large bowl. Squeeze and massage it for several minutes until liquid releases visibly.
- Pack tightly into clean jars, pressing down firmly so liquid rises above the produce. Leave an inch of headspace.
- Weigh down the produce so it stays submerged. Set a smaller jar of water on top, or use a zip-lock bag filled with brine.
- Cover loosely — not sealed — with a cloth or lid set ajar so gases can escape.
- Leave at room temperature, checking daily. Start tasting around day three. Most vegetables are pleasantly sour within five to ten days, though some people prefer three weeks. Move to cold storage when the flavor suits you.
Wet brining works better for whole vegetables like cucumbers, green beans, garlic, and small peppers. You make a saltwater solution and submerge the produce in it.
- Mix a brine using one tablespoon of pickling or kosher salt per two cups of non-chlorinated water. Tap water in most rural areas is fine, but if yours is heavily chlorinated, let it sit out overnight first.
- Pack vegetables tightly into jars. Add garlic cloves, dill, or peppercorns if you want flavor — none of those are required.
- Pour brine over the vegetables, fully submerging them. Leave an inch of headspace.
- Weigh vegetables down to keep them under the brine and cover loosely.
- Ferment at room temperature, tasting from day three onward. Green beans and cucumbers usually hit a good flavor between five and fourteen days.
- Too little salt (under 1.5% for wet brine) and you risk spoilage before fermentation can protect the jar
- Too much salt slows or stops fermentation entirely and makes the end product nearly inedible
- A kitchen scale is more reliable than measuring spoons for getting ratios consistent across batches
- If you’re in a hot climate or your house runs warm in summer, lean toward the higher end of the salt range
The first batch we ruined
I over-salted the first batch of green tomatoes so badly that a week into curing they were gray and soft in a way that smelled vaguely of regret. I had doubled the salt thinking it would preserve them better, which is not how it works. Ben tasted one, made a face, and said “I think that’s done” in the tone he uses when he means definitely done and we should not try to rescue it. He was right. There was no lesson, exactly — I’d read the ratio wrong and used too much. We composted the whole jar and started over.
Why salt preservation actually takes more attention than freezing
Freezing is genuinely easier. You wash, you bag, you freeze. It takes about three minutes per pound of produce. Salt fermentation is not that.
What you’re doing with salt preservation is creating conditions that favor beneficial bacteria — mainly lactobacillus — while making the environment hostile to pathogens. That process is temperature-sensitive and requires daily attention, at least in the early stages. A jar sitting at 80 degrees Fahrenheit will ferment fast, sometimes too fast, and develop off flavors or go soft. A jar sitting at 55 degrees will ferment slowly and stay crisper but takes longer. Our Tennessee summers mean the back hallway that works fine in October becomes too warm by July, and I’ve had batches go wrong because I left them on the counter during a hot stretch.
Mold is the other thing. White surface mold on ferments is common and generally harmless — you skim it and keep going. But pink, green, or black mold means you discard the batch. The USDA is pretty clear on not attempting to salvage visibly contaminated ferments, and that’s advice worth following. You also need to check that produce stays submerged. A piece of cabbage poking above the brine for two days can develop mold that you then have to monitor and manage.
This is not difficult, but it’s not set-and-forget either. If you want to preserve food and not think about it again for six months, get a chest freezer.
My neighbor’s method, which defies logic but works
Our neighbor down the road — she’s been out here for thirty years — uses what I can only describe as an approximate method. She eyeballs the salt. She uses mismatched jars, some with lids that don’t seal right, some wide-mouth mason jars, one that looks like an old pasta sauce jar. Her brine ratios, when I’ve watched her, seem low. I’ve asked her about it and she just says she does it like her mother did and the salt is forgiving.
And she never loses batches. Her kraut is good. Her dilly beans are better than mine. I genuinely don’t know what to make of this except that she’s been doing it long enough to read the ferments visually in a way I haven’t learned yet, and maybe that matters more than precision when you have enough experience. I’m not recommending her method. I’m just noting that it exists and produces results.
The salt costs less, but there’s the time thing
The financial math is real. A three-pound bag of kosher salt costs less than five dollars and will get you through an entire season of fermentation projects. A chest freezer costs two hundred dollars minimum, plus electricity. A pressure canner setup runs eighty to a hundred and fifty dollars, plus lids every season. Salt wins on cost, clearly.
But fermented vegetables take weeks to reach their best flavor, and some take months. A crock of sauerkraut I started in October in our cool back hallway was genuinely good by December, but that’s two months of checking it every few days, skimming surface foam, making sure the weights stayed in place. Freezing the same cabbage would have taken ten minutes.
I haven’t figured out whether the savings justify the time, honestly. It depends on what your time costs you. I do the books for a few small businesses, and there are weeks when two hours of fermentation monitoring feels like a luxury I’m paying for in a roundabout way. Other weeks it’s the thing I do at the end of the day that requires no real thinking and feels worth it. There’s no clean answer there.
How long these actually last, and what happens when they don’t
Here’s what I know: some batches last a long time. A jar of fermented garlic I made in our second fall here was still good eighteen months later — funkier, more complex, but good. The National Center for Home Food Preservation generally recommends refrigerating lacto-ferments after they reach your desired sourness and consuming them within a few months for best quality, though properly fermented and stored vegetables can stay edible considerably longer.
What you’ll sometimes see on older ferments is a white powdery bloom on the surface or around the jar rim. This is usually kahm yeast — harmless, unpleasant-smelling, and a sign your ferment has been sitting a while or the salt concentration was on the low side. You skim it and see what’s underneath. If the smell is sour and clean, the vegetables are probably fine. If it smells wrong in a way that’s harder to describe — flat, rotten, chemical — trust that and discard it.
The honest answer on shelf life is that I don’t have a reliable number. Some batches I’ve kept for two years with no problem. Others developed off smells at eight months. I haven’t identified a consistent variable that predicts which will be which, and I’m wary of anyone who gives you a confident specific number without caveats. The University of Tennessee Extension Service has general guidance on home fermentation if you want to dig into the specifics for our region.
The thing I’d actually tell you, if you’re just starting out: make small batches. Don’t commit twelve pounds of green beans to a method you haven’t tried yet. Start with one quart, see how it goes, taste it at different points, and decide whether you want to scale up. The salt is cheap enough that losing a jar is fine. Losing half your fall harvest to an experiment gone wrong is not.