I Stopped Buying Canned Vegetables—Here’s How Salt Changed Everything
I assumed salt preservation was something my grandparents did because they had no other choice. Before we moved out here, I thought canned vegetables from the store were just better—more consistent, safer, easier. It took about a season and a half of hauling in more green beans than our small family could possibly eat before I started seriously looking into preserving food with salt, homemade methods included. What I found was both simpler and stranger than I expected.
Salt curing doesn’t require a pressure canner, a water bath setup, or any of the equipment that made me nervous about home canning in the first place. You need jars, salt, vegetables, and time. That’s the whole pitch. Whether it actually replaces your grocery store vegetable aisle is a different question, and one I’m still working out after three years of doing this on our half-acre garden here in Tennessee.
How to salt-preserve vegetables at home (the basics)
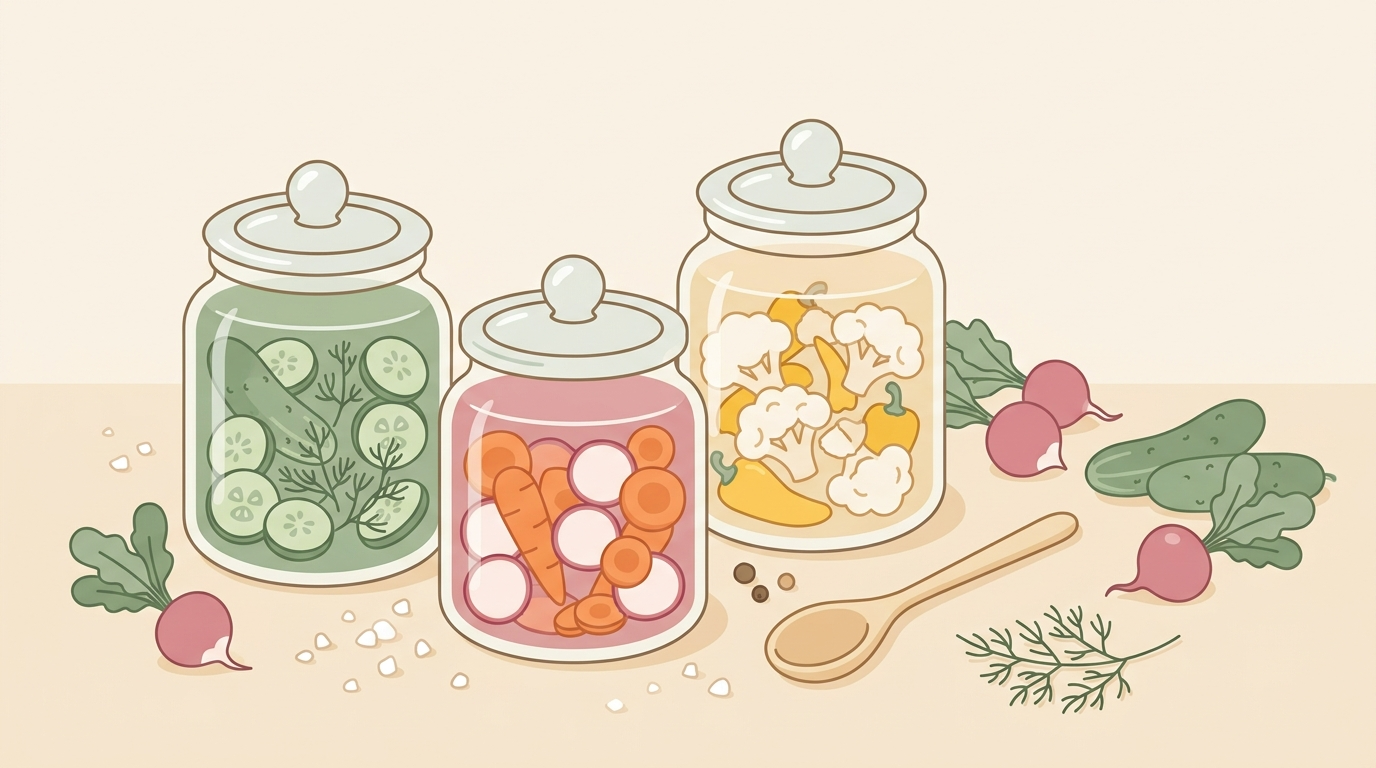
There are two main approaches: dry salting and brine curing. Dry salting works best for firm vegetables like green beans, cabbage, and root vegetables. Brine curing (submerging vegetables in a saltwater solution) works better for cucumbers, peppers, and anything you want to stay crunchier longer. I’ve done both. The process below covers dry salting, which is where most people start.
Before you begin: use non-iodized salt. Iodized salt can interfere with fermentation and leave you with mushy vegetables. Pickling salt or kosher salt without additives are both fine. I use a 5-pound bag of pickling salt from the local farm co-op, which costs around $4 and lasts most of the summer preserving season. Wide-mouth mason jars work best—quart size for most vegetables, half-gallon for cabbage. The National Center for Home Food Preservation has detailed guidance on salt ratios for specific vegetables if you want to go deeper than what I cover here.
- Wash and trim your vegetables. Cut green beans into 2-inch pieces, slice cabbage thin, or leave small cucumbers whole. Trim any damaged spots completely—don’t try to save a borderline vegetable by cutting around the bad part.
- Weigh your vegetables. Salt preservation works by ratio, not by volume. The general standard for dry salting is about 1 tablespoon of pickling salt per pound of vegetables, but this varies. Check the NCHFP for your specific vegetable before you start.
- Layer salt and vegetables in your jar. Start with a thin layer of salt, then a layer of vegetables, then salt again. Pack each layer down firmly. You’re trying to draw out moisture and create a brine naturally.
- Weight the vegetables down. A zip-lock bag filled with saltwater (same salt ratio as the brine forming in your jar) makes a decent weight if you don’t have a fermentation weight. The goal is to keep vegetables submerged under the liquid as it forms over 24–48 hours.
- Cover loosely and wait. Don’t seal the jar airtight in the first few days—gases need to escape. I use a cloth secured with a rubber band. Move to a loose lid after day three.
- Check daily for the first week. Push vegetables back under liquid if they float up. Skim any white foam that forms on top—it’s normal, but leaving it sitting there doesn’t help anything.
- Store in a cool, dark spot. A root cellar is ideal. We use the back of our basement, which stays around 55°F through most of Tennessee’s winter. Vegetables preserved this way can last 6 to 12 months if conditions are right.
- Use the freshest vegetables you can—ideally preserving within 24 hours of harvest
- Non-iodized salt only, no exceptions
- Keep everything clean but don’t sterilize with soap—rinse with hot water instead
- Consistent cool temperature during curing matters more than almost anything else
- Label your jars with the date and vegetable variety, not just the vegetable name
The math actually works
A pound of green beans at the grocery store runs around $2.50 to $3.50 depending on season and where you shop. A quart jar of home salt-cured green beans holds roughly a pound and a half of beans. The salt cost is negligible—a few cents per jar. The jars themselves are a one-time investment if you reuse them, which you should. A 12-pack of wide-mouth quart mason jars costs about $12 to $15 at Tractor Supply.
Our garden produced more green beans than I could count last July. We filled 22 jars over two weeks. At store prices, that’s close to $70 worth of vegetables. Our actual cost was the salt, a few extra lids, and several evenings of work. Over a full season, the savings are real, especially when you factor in that salt-preserved vegetables don’t require the electricity that freezing does.
The yield comparison to canned goods is roughly even in terms of volume. Salt-preserved vegetables do lose some bulk as they compress during curing, but not dramatically more than commercial canning. Where you gain is in texture—they stay firmer than anything that went through a pressure canner.
But salt preservation tastes different than canned
I want to be honest about this because I oversold it in my head before I actually ate a jar of my own salt-cured green beans. They don’t taste like canned vegetables. They also don’t taste like fresh vegetables. They taste like something else entirely—salty, slightly fermented, with a sharpness that takes some getting used to.
Ben liked them immediately. I needed a few weeks. The flavor profile is closer to a half-sour pickle than to the green beans you’d pour out of a can to add to a casserole. If your family expects preserved vegetables to taste like store-bought canned goods, salt preservation is going to surprise them, and not necessarily in a good way at first. You can rinse them before cooking to reduce the salt level and mellow the flavor, and that helps. But they will never taste neutral the way a commercial can does.
This is worth knowing before you fill 20 jars. Make a few test jars first. Let them cure for three weeks and then actually eat some before committing your whole harvest to this method.
Three years in, some jars still fail
I’m not going to pretend I’ve figured this out completely. Some jars go wrong and I genuinely don’t know why. Last fall I lost four quart jars of green beans to a pink mold I’d never seen before. The vegetables in those jars looked fine at the three-week mark and were clearly not fine by week six. Same batch, same process, same storage location as the jars that turned out perfectly. I couldn’t identify what I’d done differently.
Cabbage has been more reliable for me than green beans. Cucumbers are hit or miss. I’ve had jars of cucumbers from the same harvest go two completely different directions—one jar staying crisp and bright for eight months, the jar next to it turning soft and unpleasant by month three. Same salt. Same cucumbers. I asked on a homesteading forum and got twelve different theories, none of which I could verify.
The USDA recommends discarding any preserved food that looks or smells off, and I follow that without exception. I don’t taste-test questionable jars. If there’s visible mold you can’t explain, if the smell is wrong, if the color has shifted dramatically—the jar goes. I’ve accepted that some percentage of my preserved food is going to fail in a year and I don’t always get to know why.
What I notice about jar placement
This isn’t advice, just what I’ve observed. The jars I keep toward the back of the basement shelf, against the stone foundation wall, seem to hold longer than the ones on the wooden shelving closer to the stairs. That wall stays cooler and the temperature fluctuates less when someone walks past and opens the basement door. I’ve also noticed that jars stored upright seem to do better than ones I’ve accidentally left on their side, though I couldn’t tell you the mechanism for that.
Hank wandered into the basement once and knocked three jars off the shelf. Two survived. One didn’t. That’s not useful information, just something that happened.
The jars that failed most visibly were the ones I stored in the mudroom off the kitchen during our first year here, before I understood how much temperature variation that room sees. Tennessee winters aren’t brutal but they’re inconsistent—we can swing 30 degrees in a week in January, and that room tracked the outdoor temperature too closely. Cold storage needs to be actually stable, not just cold.
Harvest timing problem nobody mentions
Salt preservation works much better with vegetables at a specific stage of maturity. Too young, and they don’t have enough structure to hold up during curing. Too old, and you’re starting with something already headed toward soft. The window for green beans is narrow—once the beans inside the pod start to develop noticeably, the texture of the preserved product suffers.
Variety matters too, and this is something I wish I’d read before my first year. Not all cucumber varieties hold up equally well in a salt cure. Slicing cucumbers, the kind you’d put in a salad, tend to go mushy. Pickling varieties—Calypso, National Pickling, Boston Pickling—have a different cell structure and hold their crunch much better. I grew the wrong cucumbers my entire first season and couldn’t figure out why my results were so much worse than what people described online.
Timing relative to your season also matters. Here in Tennessee’s Zone 7a, we’re harvesting green beans in late June through August. Preserving in the hottest part of July means my basement is at its warmest too, which slows the initial curing and occasionally tips things in the wrong direction. The harvests I put up in early September, when the basement had cooled back down to the mid-50s, consistently turn out better. That’s a real constraint, not something you can fully work around, and I haven’t resolved it.
The University of Tennessee Extension has region-specific guidance on vegetable maturity timing that’s actually useful here if you’re in a similar climate zone.
Scaling this for a full year’s worth
I’ve been trying to figure out whether salt preservation can realistically replace a meaningful portion of our grocery store vegetable buying, and I don’t have a clean answer. This past year I put up 31 jars of various vegetables between July and October. We’re a household of two, plus whatever the chickens, Pepper, and June demand of our time and sanity on any given week. Thirty-one jars sounds like a lot until you do the math on how often you actually open a jar for a meal.
At two to three meals a week using preserved vegetables through the winter, we go through roughly 40 to 45 jars between November and April. I’m short. And that’s before accounting for the jars that fail or the ones we decide aren’t good enough to use. To fully cover our vegetable needs from salt preservation alone, I’d need to roughly double what I’m currently putting up, which means doubling the harvest volume, which means either expanding the garden significantly or getting much better at succession planting.
Ben thinks I should just do both. He’s probably right, and I’m probably overthinking it, which is on brand for both of us. But the scaling question is genuinely unresolved. Salt preservation is a real method, the savings are real, and it works—when it works. Whether it’s a full replacement for the canned vegetable aisle or just a meaningful supplement is something I’ll have a better answer for after another season or two of adjusting the garden layout and paying closer attention to which varieties actually hold up through the full storage window.
Start with one crop you grow in abundance. Cure a test batch of six jars. Wait a full month before you eat them. That one step alone will tell you more than anything else you can read about whether this method fits how your household actually eats.