We Built Raised Garden Beds From Pallets—Here’s What Went Wrong
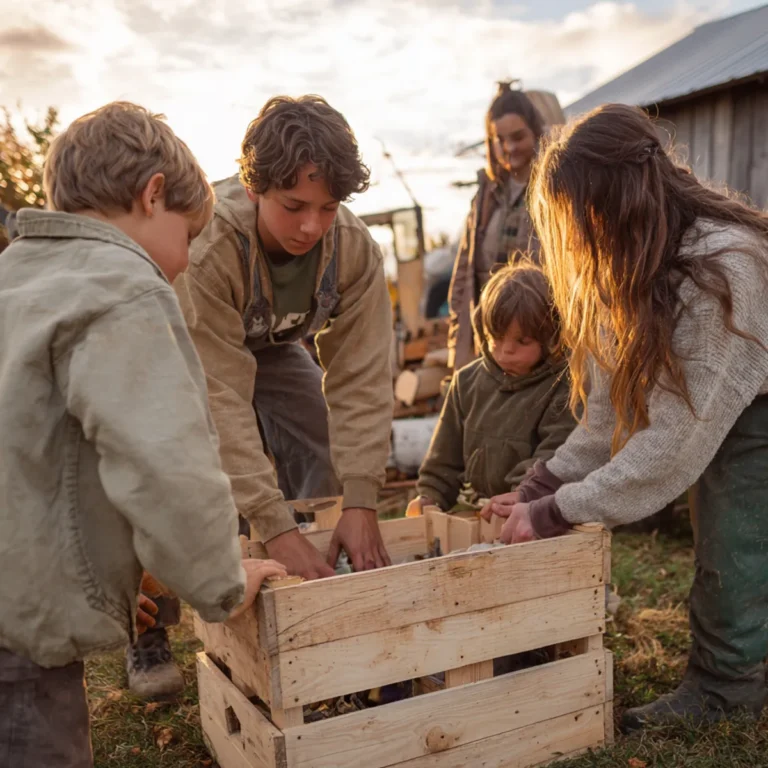
Our pallet raised beds have been in the ground for eight months now, and half of them are falling apart. The tomatoes are still growing fine in the rickety ones, which makes no sense, but here we are. When I started researching how to build raised garden beds from pallets last spring, every blog made it sound like free lumber and a weekend project. Nobody mentioned the part where you spend three Saturdays fixing what you built wrong the first time.
Ben was skeptical from the start. “Just buy the cedar boards,” he kept saying while I sorted through our neighbor’s pallet pile. “These things were made to get thrown around by forklifts, not hold dirt for ten years.” I ignored him because I had found three articles that said pallet beds were the thrifty homesteader’s dream. Spoiler: Ben was mostly right.
Which pallets actually work for gardening
This is the part I wish someone had explained clearly. Not all pallets are created equal, and some will literally poison your vegetables.
- HT (Heat Treated) – safe for food gardens
- KD (Kiln Dried) – also safe
- DB (Debarked) – fine to use
- IPPC symbol – means it follows international standards
- MB (Methyl Bromide) – toxic chemical treatment
- Any colored or painted pallets – unknown chemicals
- Pallets that smell like chemicals or oil
- Anything from pesticide or chemical companies
The wood type matters too. Oak pallets are nearly indestructible but weigh about forty pounds each. Pine pallets are lighter and easier to work with, but they’ll start rotting in our Tennessee humidity within two years. I learned this by mixing both types in the same bed, so now I have one side that’s solid as a rock and one side that’s getting spongy.
For sourcing, skip the big box stores – their pallets are usually marked for return. Small local businesses are better. Our feed store lets people take pallets for free, and the hardware store charges two dollars each for their good ones. The free ones from behind grocery stores often have food residue that attracts every ant in the county.
Does any of this actually save money?
This is where my thrifty plan fell apart. Yes, the pallets were free. But then I needed screws that wouldn’t rust ($25), corner brackets because my joints were terrible ($18), landscape fabric for the bottom ($22), and a circular saw blade that could handle the nail-filled wood ($30). Oh, and work gloves because pallet wood gives splinters like it’s getting paid for it ($12).
Ben kept a running total on the whiteboard in the kitchen, which was annoying but accurate. By the time we finished three beds, we’d spent $107 plus about fifteen hours of labor. New cedar raised bed kits at the garden center were $89 each and would have taken maybe three hours total to assemble. The math wasn’t working in my favor.
But here’s the thing – and this is why Ben and I still argue about it – the pallet beds are bigger. Each one is roughly four by six feet instead of the standard four by four. So technically I got more growing space for less money per square foot. Ben says that’s creative accounting. I say it’s making the best of a stubborn decision.
The assembly that took three weekends
I had grand plans for a Saturday morning build session. Coffee on the porch, then a few hours of satisfying construction work, finished beds by lunch. Instead, I spent the entire first weekend just trying to get the pallets apart without destroying them.
The problem is that pallet wood is designed to stay together under stress. Those ring shank nails don’t want to come out, and when they do, they take chunks of wood with them. My careful prying turned into frustrated hammering, which turned into Ben coming out to ask why I was swearing at a pile of lumber.
“You’re going about this wrong,” he said, which is never what you want to hear when you’re already frustrated. But he was right again. Instead of trying to save every board, we should have just cut the pallets in strategic places and used whole sections. Would have saved hours and preserved more usable wood.
The second weekend was all about fastening the corners together, which sounds simple until you realize that pallet wood is rarely straight. Everything wants to bow or twist, especially after it’s been sitting in the weather for who knows how long. I’d get three corners square and the fourth would gap open. Ben suggested metal corner brackets, which I rejected as “cheating” until I spent four hours trying to make twisted boards behave.
Weekend three was adding the corner brackets and accepting that my rustic pallet beds were going to look more rustic than I’d planned.
How to prepare pallets before planting (5 essential steps)
This is the part that matters most if you’re actually going through with this project. Skip any of these steps and you’ll regret it later.
- Sand everything down. I mean everything. Pallet wood comes with splinters, rough spots, and sometimes mystery stains. A palm sander with 80-grit paper will save your hands and make the wood look intentional instead of scavenged. This took me about two hours per pallet.
- Pull or cut all the nails flush. Don’t leave any sticking out where you’ll catch them with your hands or tools later. I used a reciprocating saw to cut stubborn ones flush rather than fighting to extract them. Your future self will thank you when you’re not getting tetanus shots.
- Check for and remove any staples or wire. Pallets often have shipping tags stapled on, and sometimes there’s wire holding things together. I found three staples the hard way – by running my palm over them while moving finished beds.
- Apply wood preservative if you want them to last. I used a clear wood sealer on the inside surfaces where they’d be in contact with soil. Skip the fancy expensive stuff – basic Thompson’s WaterSeal works fine and costs about $12 for enough to do several beds. Let it dry completely before adding soil.
- Line the bottom with landscape fabric or hardware cloth. This keeps soil from washing out through the gaps and blocks weeds from growing up through the bottom. I stapled it to the inside edges, leaving about an inch overlap up the sides.
About the soil thing we didn’t understand
I assumed pallet beds would work like any other raised bed – fill them with soil and plant. Turns out the gaps between boards mean you lose soil differently than with solid-sided beds. Not just drainage, but actual soil washing out during heavy rains.
Our first big storm in May washed about two inches of topsoil right through the gaps and onto the grass around the beds. The tomatoes didn’t seem to mind, but I was basically fertilizing the lawn with expensive garden soil. Ben suggested adding more landscape fabric to the sides, but then you lose the rustic pallet look that was supposedly the whole point.
I still haven’t figured out the right balance between drainage and soil retention. The beds that drain too well dry out fast in summer heat. The ones that hold soil better sometimes get waterlogged after heavy rains. It’s probably solvable, but eight months in, I’m still adjusting.
The chemical concern we still can’t shake
This is the part that keeps me up at night sometimes. All the pallets I used were stamped HT for heat treatment, which every source says is safe for growing food. No harmful chemicals, just high-temperature sterilization to kill bugs and fungus.
But then you start wondering – what did these pallets carry before they ended up in my garden? Pesticides? Fertilizer? Something that soaked into the wood over months of shipping? The stamps tell you how the wood was treated, not what it’s been exposed to since then.
Ben thinks I’m overthinking it. “The tomatoes are fine, the lettuce is fine, the soil tests came back clean,” he says. And he’s probably right. But there’s still this nagging doubt when I’m harvesting vegetables from beds made of wood that was designed to be disposable shipping material.
I looked into getting the soil tested for heavy metals and chemical residues, but it’s expensive and the county extension office couldn’t tell me what exactly to test for. So we’re growing food in them and hoping the heat treatment really did make them safe. It’s not the most scientific approach.
TL;DR: Pallet raised beds cost more time and money than expected, some are falling apart, but the vegetables don’t seem to care. Still worried about unknown chemical exposure despite HT stamps.
What actually worked but we can’t explain why
The one thing that went perfectly was the drip irrigation setup. I ran soaker hoses around the inside edges of each bed, connected them to a timer, and expected problems. Clogged emitters, uneven watering, something.
Instead, it’s been working flawlessly for eight months. The plants get consistent moisture, I’m not dragging hoses around every evening, and the water bill actually went down compared to sprinkler watering. Even the wonky bed that’s half falling apart has perfect irrigation.
Ben says it’s because the pallet sides give the soaker hoses something to rest against, keeping them positioned right where the roots need water. Maybe that’s it, or maybe we just got lucky. Either way, it’s the one part of this project I’d recommend without hesitation.
Yesterday I was out checking on the winter preparations, trying to figure out which beds might collapse under snow load, when Hank jumped up onto the most wobbly one and started sharpening his claws on the corner post. The whole thing flexed about an inch, but it held. If it can handle Hank using it as a scratching post, maybe it’ll make it through another season. Or maybe not. We’ll find out come spring.