Best Canning Recipes for Pickles and Relish: The Details Nobody Mentions
Most people go looking for the best canning recipes for pickles and relish and come back with a list of ingredients. That’s not where batches fail. They fail in the margins — the 30 seconds you didn’t wait, the headspace that was a quarter inch off, the jar that went into the water bath still cold from the counter. This article is not about ingredient lists. It’s about the stuff recipes assume you already know.
I’ve been canning out here for two summers now. Before that, I’d never touched a water bath canner. Our first year, I lost more jars than I saved, and the failures were never about the recipe itself. They were always about the details nobody bothered to write down.
The seven things your recipe won’t tell you
These are the steps that get skipped because they feel obvious. They are not obvious. Each one has cost me something.
- Jar temperature before filling matters. Cold jars crack in hot water baths. Warm your jars in the oven at 200°F or keep them in simmering water until you’re ready to fill. Don’t let them sit on a cold counter first.
- Headspace is not a suggestion. For pickles and relish, that’s typically half an inch. Too little and the lid can’t seal properly as contents expand. Too much and you’ve got too much air, which affects both seal quality and color over time. Use a headspace tool — the $4 plastic ones work fine.
- Timing between steps adds up. If your recipe says process for 10 minutes, that clock starts when the water returns to a full boil after you add the jars — not when you put the jars in. This matters.
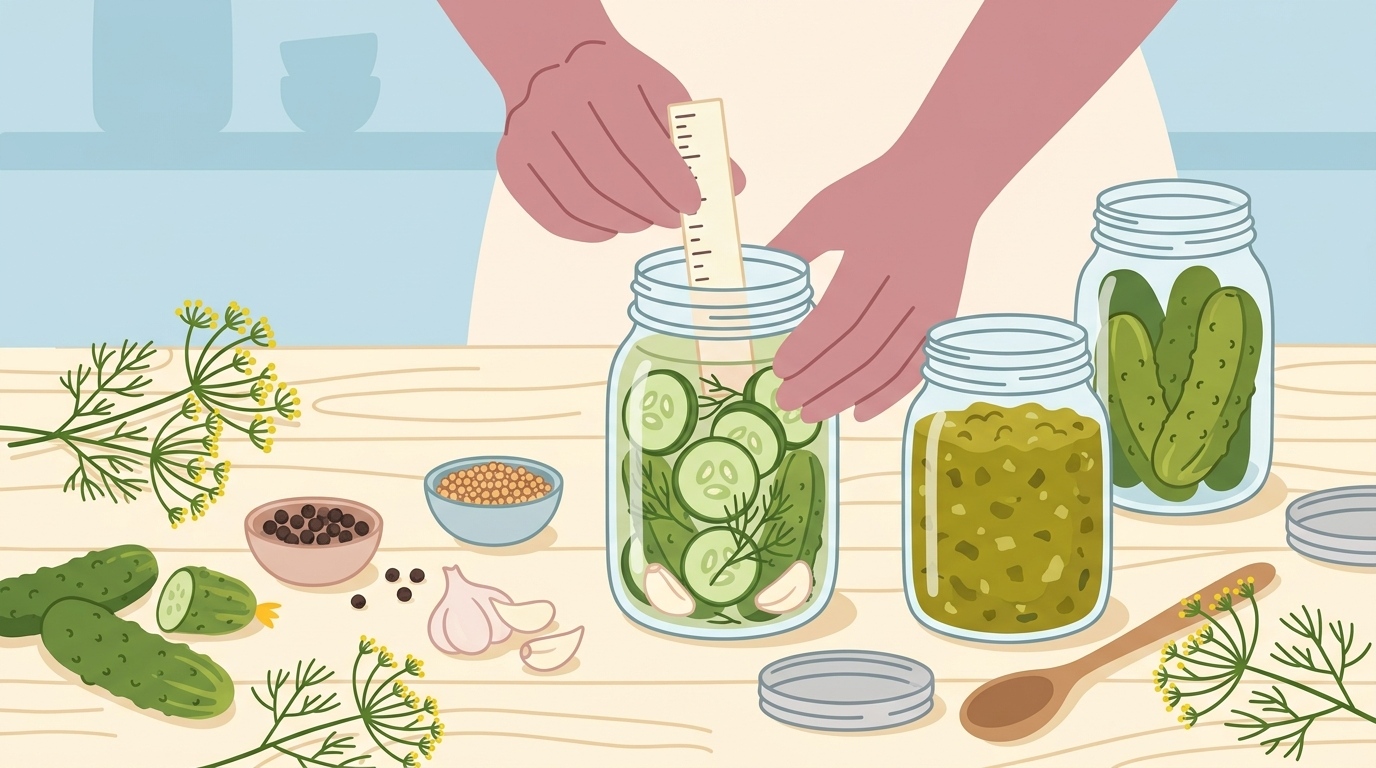
- Water depth in the canner needs to cover jars by at least an inch. Not close to an inch. An actual inch. I use a ruler the first time with any new pot.
- Lids should be simmered, not boiled. Modern Ball and Kerr lids don’t require pre-simmering the way old ones did, but keeping them warm in hot water until use prevents the compound from hardening before it seals.
- Salt type is not interchangeable. Pickling salt only. Iodized table salt clouds your brine and can affect fermentation. Kosher salt works if it’s pure, but check the label — some brands add anti-caking agents.
- Let jars cool undisturbed for 12 to 24 hours. Don’t press the centers, don’t move them, don’t stack them. The seal finishes setting during that cooling period. I know you want to check them. Wait.
- Canner, jar lifter, lid wand, headspace tool, wide-mouth funnel
- Pickling salt (not iodized)
- 5% acidity vinegar — check the label every single time
- New lids each season, bands can be reused if undamaged
- A timer that is not your phone, because your hands will be wet
Does vinegar strength actually matter
Yes. And also sometimes less than people think. Here’s where it gets specific.
The National Center for Home Food Preservation recommends using vinegar with 5% acidity for home canning. That percentage is what the tested recipes are built around. When you swap to a 6% vinegar without adjusting, you’re changing the pH of the finished product. Usually toward a safer direction, but you’ve also changed the flavor — sometimes noticeably sharper. The problem runs the other direction when people grab whatever’s in the cabinet. Store-brand vinegars occasionally come in at 4% or less, which can push a pickle recipe below the safe acidity threshold for shelf storage.
The practical rule: check the label every time. Not once per season. Every bottle. I’ve found two bottles in the same grocery trip with different acidity levels. It takes four seconds and it’s not optional for food-safety purposes. The USDA is consistent on this point.
Where the obsession gets a little overblown is in the difference between, say, apple cider vinegar and white distilled at the same acidity. Flavor changes significantly. Safety, when both are 5%, does not. Use what the recipe calls for. If you want to experiment with vinegar types, do it with a tested recipe at the right acidity, not a home-converted one.
The batch that shouldn’t have worked
Last August, I made a corn relish. I was behind schedule, the corn had been sitting out longer than it should have, I used a vinegar I couldn’t find the label on because Ben had peeled it off for some project, and I overfilled two of the jars. I processed everything anyway because I was tired and I didn’t feel like starting over.
All six jars sealed. We ate the last one in February. Nothing was wrong with it. I have no good explanation for this. I’m not recommending you repeat it. I just think it’s worth saying that the margin between failure and success is sometimes wider than the guidelines suggest, and sometimes you get lucky, and there’s no way to know which one it was.
The guidelines exist because you can’t tell the difference between a batch that got lucky and a batch that is actually safe. That’s the whole point of following them.
Hot pack vs cold pack — and why I changed my mind
My first season, I cold packed everything. It was faster, the vegetables looked better in the jar, and I read somewhere that cold pack preserved more texture. I assumed this was the better method and didn’t question it.
By the second summer, I was using hot pack for about half my recipes, and now I think the real answer is that neither method is universally better. What matters is what you’re preserving.
Cold pack works well for whole dill pickles, cucumber spears — anything where you want firm texture and you’re relying on the hot brine to do the work. The cucumbers go in raw, the hot brine goes over them, and they firm up rather than soften in processing. Hot pack makes more sense for relish, bread and butter pickles, and anything with multiple chopped ingredients that benefit from pre-cooking because it drives out air from the produce. Less air means better color retention, fewer floating vegetables, and often a more stable shelf life.
I was wrong to assume one method covered everything. Use cold pack for firm whole vegetables. Use hot pack for chopped or softer produce and anything that needs to hold color through a full year of storage.
When I lost three jars to cloudiness
Mid-storage, late fall. I pulled three jars of garlic dill pickles off the shelf to bring to the farmers market — Ben had volunteered us, naturally — and two of them were cloudy. Not the nice fermented-brine kind of cloudy. Wrong color, off smell on one of them.
I spent most of that winter trying to figure out what happened. Calcium from the water? Starch from the cucumbers? Insufficient processing time? I read through the NCHFP troubleshooting guides, went back through my journal entries for that batch, and couldn’t pin it to anything specific. The jars had sealed. The lids held vacuum. One of them smelled slightly off, so I tossed all three rather than risk it.
The next season I switched to a water bath canner with a better rack, changed the cucumber variety, and used filtered water instead of tap. Nothing has clouded since. I don’t know which of those changes fixed it, or whether the problem would have resolved anyway. That’s the part nobody tells you about troubleshooting preservation failures: you often don’t get a clean answer.
What your kitchen scale can teach you
Volume measurements are convenient. They’re also inconsistent in ways that matter when you’re making something that sits on a shelf for a year.
A cup of chopped onion can weigh anywhere from 120 to 190 grams depending on how finely you chopped it. That’s not a minor variation — it changes the ratio of vegetable to brine, which changes the final pH, which is what actually determines whether the finished product is safe at room temperature. Most pickling and relish recipes are developed by weight in food science environments and then converted to volume measurements for home cooks. Some of that conversion is precise. Some of it is close enough. You don’t always know which one you’re working with.
A kitchen scale costs between $12 and $25. I use an OXO digital scale that has been accurate for three years. If a recipe gives both weight and volume measurements, use the weight. If it only gives volume, weigh it anyway the first time so you know where you landed.
TL;DR: Canning failures almost never come from the recipe. They come from jar temperature, headspace, timing, vinegar acidity, and not using a scale. Fix those before you change anything else.
The recipes I actually use (and why they’re not fancy)
After two seasons and a lot of failed experiments, these are the recipes I go back to every year. None of them are original. All of them have survived repetition without surprising me.
- NCHFP Garlic Dill Pickles. The recipe on the National Center for Home Food Preservation website. No modifications. I tried adding red pepper flakes the first year and the flavor was muddy. Plain garlic dill, made correctly, is better than most fancy versions I’ve tried.
- Ball Classic Bread and Butter Pickles. From the Ball Blue Book Guide to Preserving. Hot pack, mandoline sliced, sweet and sharp. These are the ones people ask for at the end of summer. The Ball Blue Book runs about $10 and is worth having on the shelf regardless.
- NCHFP Sweet Pickle Relish. The tested recipe, again from NCHFP. I use it on everything from late-summer cucumbers that got too big for slicing. Chopped, brined overnight, drained, then processed. Takes the better part of an afternoon but makes around 8 half-pints from a big cucumber haul.
- Zucchini Relish (Ball recipe). Useful late in the season when the zucchini has gotten away from you. If you have goats — Pepper has eaten two zucchini plants this year, but June mostly ignores the garden — you still end up with more than you can eat. This relish handles the surplus without canning 40 jars of something nobody wants.
- Quick Bread and Butter Refrigerator Pickles. Not shelf-stable, but these are the ones I make when a cucumber appears unexpectedly and I don’t want to run a full canner. Two weeks in the fridge, crisp and consistent. No processing required.
The detail that makes all of these work long-term isn’t the ingredient list. It’s that I’ve made each one enough times to know exactly what it looks like at every stage — what the brine smells like when it’s right, what the headspace looks like when it’s correct, how long my canner actually takes to return to a boil after I add jars. That knowledge doesn’t come from a recipe. It comes from repetition, and from writing down what happened each time, even when what happened was a cloudiness problem you never fully solved.