How We Finally Got Our Vegetable Garden Design Right (After Two Failed Seasons)
Everybody told us to start with rows. Neat, straight rows like the old-timers did it, like the extension office pamphlet showed, like the YouTube video with 2 million views recommended. So our first attempt at vegetable garden design layout ideas involved a tape measure, some string, and about four hours of Ben and me arguing about whether the rows should run north-south or east-west. We ended up with rows. They were terrible.
Not because rows are wrong. Rows are fine. They were wrong for us, on that particular half-acre of slightly sloped Tennessee clay, with no drip irrigation and a tendency to forget to weed for two weeks straight. The layout wasn’t the problem. The layout was just the first thing we blamed.
The Layout Decision That Matters Most
Before you look at a single garden bed diagram or Pinterest board, the only question worth answering is this: how do you actually garden? Not how you plan to garden. How you do it right now, in real life, with your actual schedule.
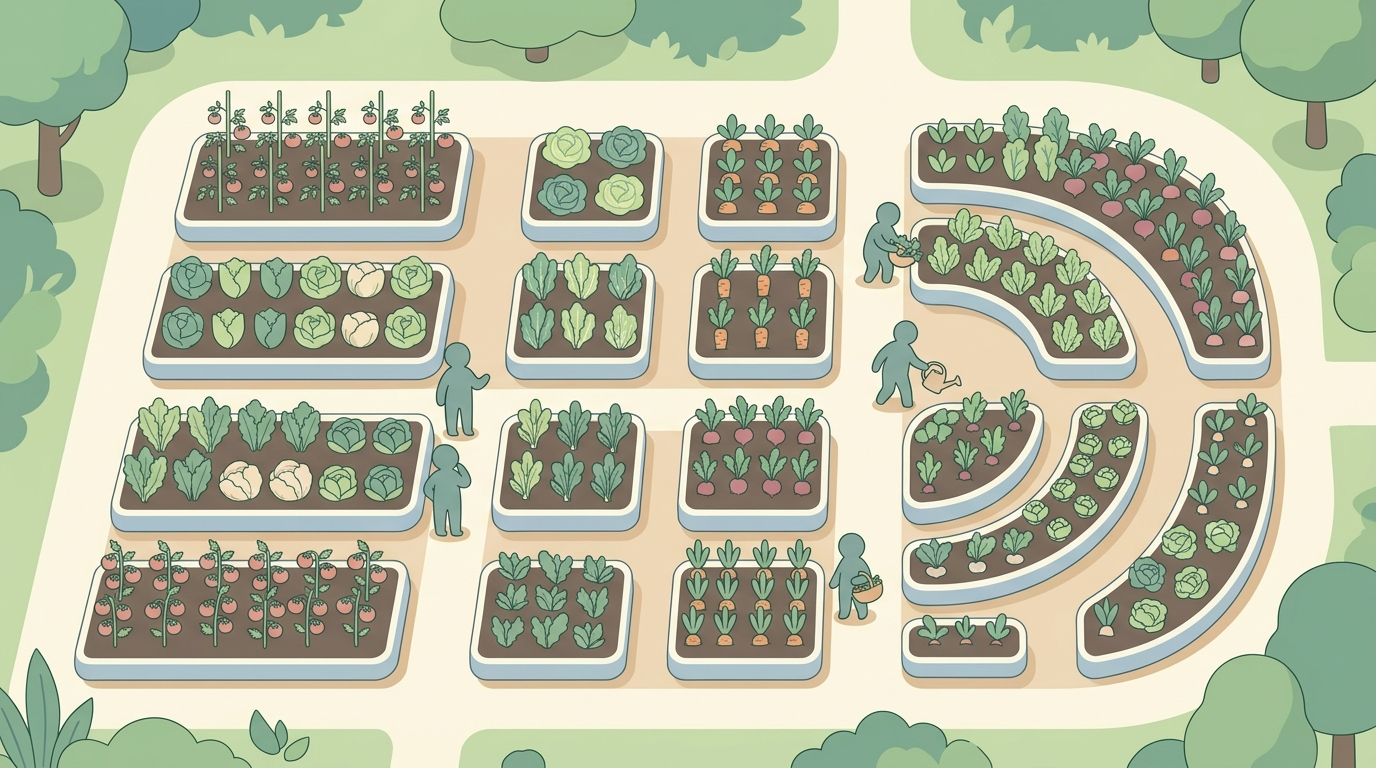
If you have 20 minutes on a weekday morning and a longer stretch on weekends, that’s a container or raised bed situation. Containers and raised beds have a tighter footprint, drain faster, warm up earlier in spring, and don’t require you to prep a whole field. We’re in Zone 7a here, so our last frost is usually around mid-April, and raised beds let us start hardening off transplants in early March without losing them to a cold snap. The three raised beds we built in year two — about $180 in cedar lumber total, one long weekend — outperformed the entire row garden from year one without much contest.
In-ground rows make sense if you have good soil already, real space, and the time to work them. If you’re fighting compacted clay or don’t have consistent access to water, rows will punish you. Wide-row or block planting is a middle option that gets overlooked — plant in dense patches instead of single lines, which cuts down on weeding surface and keeps moisture in better.
The decision isn’t aesthetic. It’s logistical. Pick the system that matches how often you’ll actually be out there.
4 Site Conditions You Have to Get Right Before Drawing Anything
- Sun patterns, tracked over a few days. Don’t guess. Walk the space at 8am, noon, and 4pm and take photos or notes. Our kitchen garden gets full sun from mid-morning until about 3pm, then partial shade from the tree line to the east. We didn’t realize this until we’d already put tomatoes in a spot that only gets about five real hours of direct sun. Six hours is the minimum. Eight is better for most fruiting crops.
- Water access and distance. Measure how far your nearest spigot is from the intended bed. Every extra 50 feet of hose adds friction to your routine. We ran a second hose bib off the house line in year two — about $60 in parts and a plumber’s afternoon — and it changed how often I actually watered consistently.
- Soil drainage after rain. Go out 24 hours after a good rain and see where water is still sitting. That low spot that looks fine in dry weather will drown roots in a wet spring. We have a section near the goat pen that stays soggy into May. Pepper and June don’t help, since they’ve compacted that whole area from years of standing around the fence line.
- Wind exposure. Tennessee doesn’t get brutal wind like the plains, but a steady western breeze can dry out seedlings fast and knock over tall plants without proper staking. Note which direction your prevailing wind comes from and plan to put taller crops, a fence, or a windbreak on that side.
Ben Says I Overthink This
“Just put stuff in the ground and see what happens.” That’s more or less his position on garden planning. He said it while reading something on his phone, probably a homesteading forum, probably at 11pm when I was drawing a scaled diagram of the garden beds on graph paper.
The frustrating part is he’s not entirely wrong. His approach to the chicken tractor — built it in an afternoon without a real plan, works perfectly — is evidence that sometimes you just need to start. My approach involves a garden journal, three different books including The Market Gardener by Jean-Martin Fortier (which is technically for small farms but has the most useful bed layout logic I’ve found), and a color-coded crop rotation spreadsheet that I’ve updated four times and still haven’t fully followed.
He’s right that I overthink it. I’m right that having no plan meant we planted cucumbers directly next to the squash in year one and lost most of both crops to a single aphid infestation that spread unchecked. We never resolved this tension. We just both keep doing it our way.
Does Crop Rotation Actually Matter for Your First Garden?
Probably not as much as everyone says, but I’m not confident enough to tell you to ignore it.
The idea is sound: moving plant families around between seasons prevents soil-borne diseases from building up and disrupts pest cycles. The problem is that in a small garden — under 1,000 square feet — the distances you’re rotating are so short that some experts say it barely helps. You’re moving tomatoes eight feet to the left. The fungal spores don’t care.
Where it does seem to matter is with brassicas and solanums. We had a year where we grew tomatoes in the same bed two seasons running and saw early blight worse than we’d had before. Could be coincidence. We rotated them the next year and it was better. That’s not data. That’s two data points with a lot of variables I didn’t control.
My honest take: if you’re in your first season, spend your mental energy on watering consistently and not letting weeds get ahead of you. If you’re in year two or three, start keeping loose track of what went where. A basic garden journal helps — even just a notebook where you sketch the beds each season. Mine is mostly complaints about squash bugs, but it does have location notes.
Why That Perfect Plan Failed Anyway (Season One and Two)
Season one failed because we started too late. We didn’t get transplants in the ground until late May, which in Tennessee means your cool-season crops are already toast and your warm-season stuff is playing catch-up. We also direct-seeded carrots and parsnips into unworked clay and then were surprised when almost nothing germinated.
- Starting seeds too late — transplants went in mid to late May instead of late April
- Direct seeding root crops into unbroken clay without amending first
- Spacing tomatoes at 18 inches because a blog said so — they needed 30 inches minimum in our humidity
- No trellis system ready at planting time — scrambling to install it mid-June while everything was already flopping over
- Assuming the deer fence from the previous owners was functional — Pepper took it out in week three and the deer found the gap within a day
Season two was better on timing and worse on assumptions. We had a plan. The plan didn’t account for a wet April that delayed soil prep by three weeks, or the fact that I’d ordered seeds from two different suppliers and they arrived on completely different schedules. By the time we had everything we needed, we were already behind on hardening off the seedlings. We harvested maybe 40% of what we’d hoped. The layout was fine. Everything around the layout was a mess.
The Spacing Thing Everyone Gets Wrong (Including This Article)
Standard spacing guidelines are written for ideal conditions. They are not written for your specific garden, your specific climate, or the variety you actually planted. I followed the Square Foot Gardening method for the raised beds — one tomato per square foot, the way the book says — and ended up with plants so crowded by August that I couldn’t get my hand in to harvest without knocking something over.
- Use seed packet spacing as a floor, not a target — go wider if you can
- In humid climates like Tennessee summers, tighter spacing means more disease pressure from poor airflow
- For indeterminate tomatoes, 24 to 30 inches between plants, not 18
- Squash needs more room than you think — one plant can take 12 to 15 square feet by midsummer
- Succession plant in short rows rather than one big planting — you’ll have better use of space over the season
The problem with writing any spacing guidance is that it contradicts itself in practice. Plant too close, you get disease and competition. Plant too far, you get weeds filling the gaps and wasted bed space. The right answer depends on whether you mulch, how often you water, and what the August humidity in your specific county does to a dense planting. I can’t tell you the number. I can tell you to give yourself more room than you think you need and be ready to adjust.
Pathways, Access, and the Thing You’ll Regret
We made our first paths 12 inches wide. Do not do this. You cannot get a wheelbarrow through 12 inches. You cannot comfortably bend down and weed a bed if you’re twisted sideways in a 12-inch path. Eighteen inches is the minimum for a working path, and 24 inches is better if you’re using a garden cart or want to kneel without landing in the adjacent bed.
I didn’t fully understand until the second season that garden design is mostly about how you move through the space, not about the plants at all. The beds matter. The spacing matters. But the thing that determines whether you actually use the garden consistently is whether you can get to everything without it being an obstacle course.
Our greenhouse — the one that leans slightly to the left since Ben installed it on a slope without pouring a proper footing — has the same problem. The path through the middle is just barely wide enough, and any time I’m carrying flats of seedlings I have to turn sideways. We keep meaning to fix it. The footing would take a weekend and probably $80 in concrete mix.
We haven’t fixed it. It’s been three seasons.