I Ruined 12 Jars Before Mastering Canning Pickles and Relish Recipes
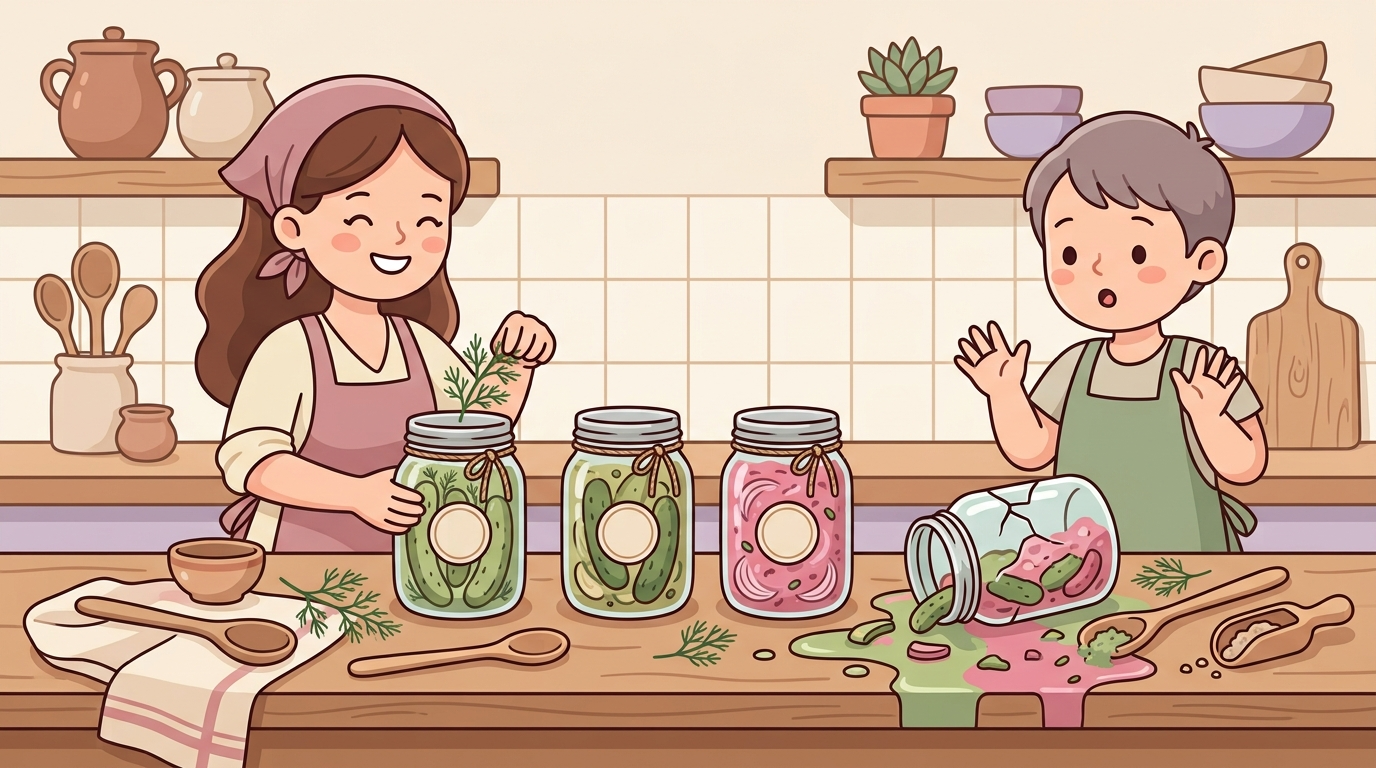
The jar didn’t shatter dramatically. It just cracked along the bottom seam, and by morning there was a sticky puddle of brine spreading across the counter and a smell that was mostly dill but also defeat. That was jar seven. I had five more failures ahead of me before I figured out what I was doing wrong, and honestly, searching for the best canning recipes for pickles and relish was only part of my problem. The recipes weren’t the issue. My kitchen was.
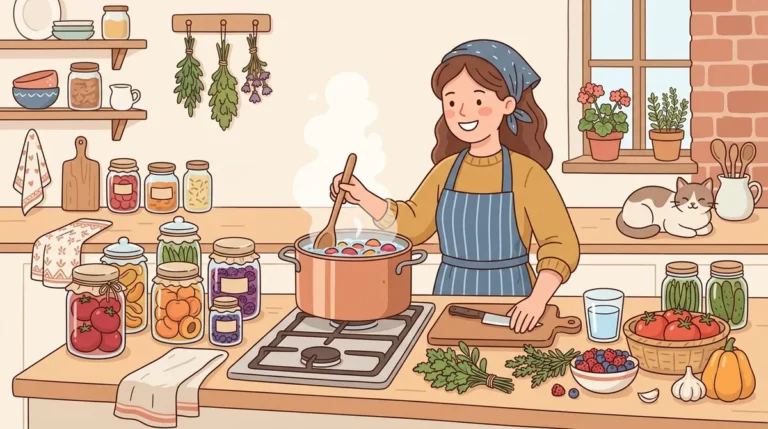
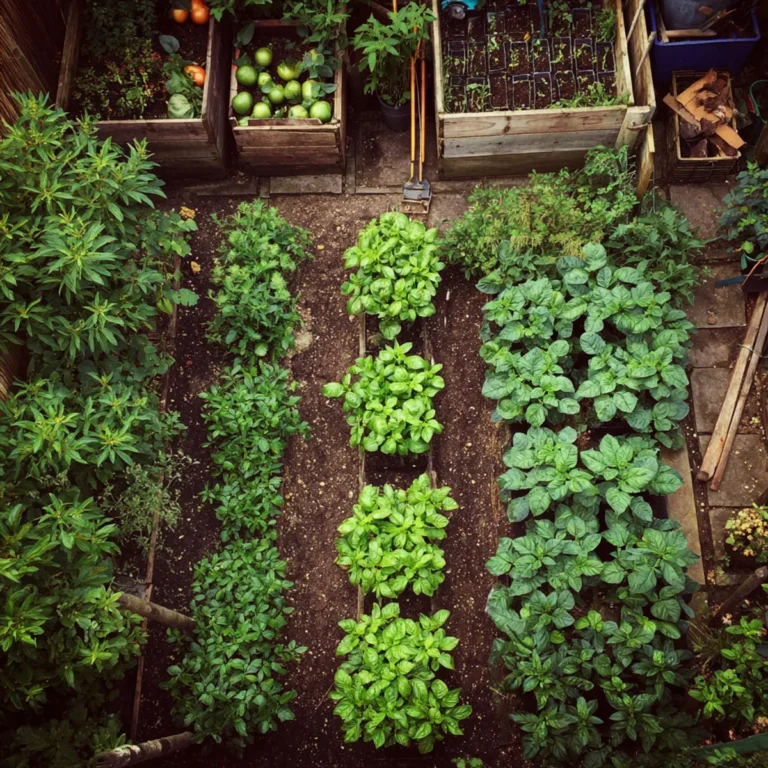
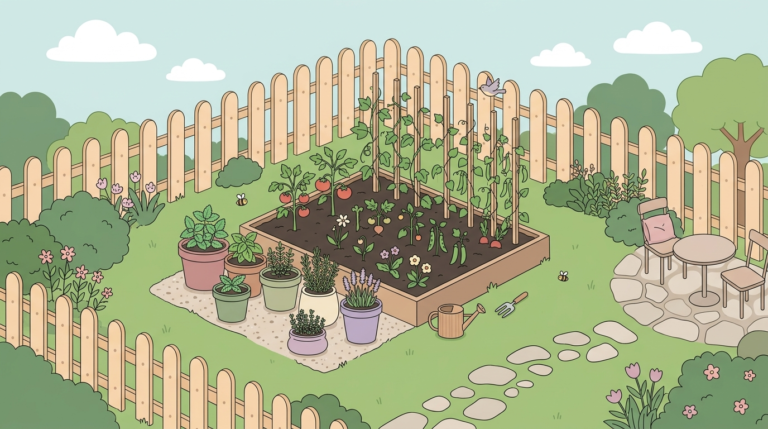
We moved out here three years ago with a chest freezer, a lot of optimism, and basically no useful skills. By our second summer, the garden was producing faster than we could eat anything, and I decided canning was the answer. Ben said, “Just start. You’ll figure it out.” He wasn’t wrong, but he also wasn’t the one standing at the stove at midnight waiting on a water bath timer.
Jar number seven burst at 3am
I say burst. It was more of a slow failure. I’d set twelve jars on a folded dish towel on the counter — which, first mistake — and gone to bed thinking the sealing pop sounds were a good sign. One jar didn’t pop. I heard the crack sometime before dawn and found it when I came down for coffee. The brine had soaked through the towel and dripped down the cabinet face. Hank was sitting on the porch railing watching me through the window with absolutely no sympathy.
What I didn’t understand then was that the dish towel was letting the jars cool unevenly. The cold counter through a thin towel plus warm glass plus residual heat from the jar itself — it wasn’t a recipe problem. It was a cooling problem. And I’d repeated it eleven times before I finally read the National Center for Home Food Preservation guidance carefully enough to understand why it matters where you put the jars after processing.
What actually goes wrong (and why recipes skip this part)
Most canning recipes assume you have the right equipment, the right stove, and a stable environment. Most home kitchens have none of those things reliably. Here’s what actually causes failures, in order of how often I’ve seen them:
- Inconsistent heat from a standard electric coil stove. My stove cycles. The burner goes full-on, then backs off, then surges again. This causes the water bath temperature to fluctuate, which means processing time is unreliable. A candy thermometer clipped to the pot helped me catch this.
- Jars that look fine but aren’t. Run your finger around the rim before filling. One tiny chip and the seal won’t hold. I lost three jars to rims I didn’t check.
- Skipping the headspace measurement. I eyeballed it for my first several batches. Half an inch means half an inch. Too little and the brine bubbles out during processing and breaks the seal. Too much and there’s not enough vacuum.
- Lids that are too tight before processing. Fingertip tight means just that. I was overtightening because it felt wrong not to. That traps air inside instead of letting it vent.
- Altitude adjustments nobody mentions in the main recipe text. We’re at about 900 feet here in Tennessee, which barely matters. But if you’re above 1,000 feet, your processing times need to increase. The University of Tennessee Extension has an altitude chart that’s worth bookmarking.
- Water that’s too hard. Our well water leaves white deposits on everything. Hard water affects brine clarity and can interfere with the seal on some jars. Switching to filtered water for canning made a visible difference.
- Starting with jars that came straight from the cabinet. Cold jars plus boiling brine equals thermal shock. Keep them warm in a low oven or in the hot water bath until you’re ready to fill.
The June batch nobody can explain
Last June, I made a batch of bread and butter pickles on a Wednesday afternoon when the humidity was high, my brine was arguably a little weak, I forgot to warm the lids, and I processed them for maybe two minutes less than I should have because I got distracted by Pepper getting into the herb spiral again. Every single jar sealed perfectly. They were the best batch I’ve made. Still eating them. Still don’t know why they worked when batches with better technique failed.
Ben thinks the cucumbers were just better that day — we’d picked them that morning, which I don’t always do. Maybe that’s it. Maybe the cell structure was tighter and held up better to the brine. I genuinely don’t know. I can’t replicate it deliberately, which bothers me more than the failures did.
How to find canning recipes that account for your actual setup
Before you commit to any recipe, ask these questions about your kitchen:
- What type of stove do you have? Glass-top stoves are not ideal for water bath canning — the flat bottom of a large canning pot can create heat distribution problems, and some manufacturers void the warranty. If that’s you, consider a two-burner outdoor propane setup. The Camp Chef two-burner for around $80 at Tractor Supply is what Ben uses for big batches.
- What’s your altitude? Below 1,000 feet, use the recipe as written. Above that, adjust processing times per USDA guidelines. Don’t guess.
- How old are your jars? Vintage mason jars are for displaying dried beans, not for pressure or water bath canning. Use current Ball or Kerr jars with new lids every time. The lids are not reusable for canning, even if they look fine.
- What’s your water source? If you’re on a well, test your water hardness before you start. Soft or filtered water produces clearer brine and better seals.
- Do you have a jar lifter and a wide-mouth funnel? These two tools cost about $12 total and prevent more failures than any recipe tweak. The funnel alone saved me from probably six messy partial-seals from brine on the rim.
- Check every jar rim with your fingertip for chips
- Use new lids, even if last year’s look fine
- Keep jars warm until filling — cold glass cracks
- Measure headspace with a ruler, not your eye
- Set processed jars on a wood cutting board or thick towel — not a cold counter, not a thin dish towel
More vinegar is not always better (but sometimes it saves everything)
Standard advice says to follow the vinegar ratio exactly because it controls acidity and therefore safety. That’s true for safety. But I’ve read in multiple forums — and confirmed in my own testing — that bumping up vinegar slightly when your cucumbers are particularly watery can save a batch from going soft and mushy. The USDA guidance specifies minimum acidity levels for safety, not maximum. You can go higher on vinegar without creating a safety problem. You cannot go lower.
What you can’t do is swap vinegar types freely. White vinegar is reliable at 5% acidity, and that’s what tested recipes assume. Apple cider vinegar varies and also changes the color of your pickles, which matters more than you’d think when you’re pulling a jar out in December and it looks brown. I use white vinegar for anything I want to look bright and cider vinegar only in recipes written specifically for it.
The contradiction nobody says plainly: if your brine tastes flat right, your pickles will taste flat. Taste the brine before it goes in the jar. Not everything about canning is hands-off chemistry.
Still buying relish from the store sometimes
I made six batches of relish last August. I have a shelf in the root cellar with labeled jars going back to last summer, and Ben still bought a jar of store relish in March because we ran out right when he was making hotdogs and he didn’t want to go downstairs. I don’t entirely blame him. Some of my relish batches came out too sweet, one came out too soft, and one is inexplicably the color of Army surplus fabric. We eat through it, but it’s not seamless — I mean, it’s not smooth or simple. Some batches are better than others, and I’m not always sure why.
The homesteading ideal is that you produce everything yourself and it’s all better than store-bought. The reality is that I’m still learning, my results are uneven, and sometimes a $2.49 jar of relish from the grocery is what gets dinner on the table. I don’t think that’s a failure. I think it’s just how it goes while you’re still figuring something out.
The 5 recipes worth trying after you’ve killed some jars
These aren’t the fanciest pickles and relish recipes. They’re the ones that tend to forgive beginner mistakes — because they have a little margin built in.
- Dill pickle spears (Ball Complete Book recipe). The Ball Complete Book of Home Preserving is about $20 and worth every cent. Their basic dill spear recipe has been tested for a range of conditions and has enough acidity that small timing errors don’t tank the batch. Start here before anything else.
- Bread and butter pickles. The sugar in the brine gives you slightly more flexibility on processing time than straight dills. The batch that worked mysteriously last June was this one. Slice your cucumbers thin and evenly — a mandoline slicer helps, the cheap $25 ones work fine.
- Sweet pickle relish. This is forgiving because the texture variation in chopped vegetables hides a lot of softness errors. Process in half-pint jars, not pints — smaller jars mean faster heat penetration and more consistent results.
- Garlic dill pickles (whole, small cucumbers). Whole pickles hold texture better than spears. Pick cucumbers when they’re two to three inches long, not longer, or they go soft no matter what you do. Blossom end off — this actually matters for crunch. Cut it cleanly before packing.
- Zucchini relish. If your garden is drowning you in zucchini, which ours does every August, zucchini relish processes identically to cucumber relish and uses the same brine ratios. It also gets more compliments at the farmers market than the cucumber version, for reasons I can’t explain.
- Trying to double batch recipes in a single pot — the processing time is calibrated for single batches
- Using old lids I’d saved “just in case” — two failed seals in one afternoon cured me of this
- Skipping the blossom end removal on cucumbers — every one of those pickles went soft
- Eyeballing headspace instead of measuring — lost four jars to weak seals this way
- Processing on a glass-top stove without checking manufacturer guidelines first
Does the sealed pop mean it actually worked?
The pop is satisfying. I stand in the kitchen and count them like they’re points. But the pop only tells you the lid sealed — not that the processing was long enough, not that the acidity is correct, not that the jar is actually safe to store at room temperature. A jar can seal and still be wrong.
After 24 hours, press the center of each lid. It should be firm and slightly concave. If it flexes or pops back up when you press it, that jar didn’t seal properly and needs to go in the fridge and be eaten within a few weeks. Any jar that shows signs of spoilage — off smell, cloudy brine, mold at the seal — doesn’t get the benefit of the doubt. That one goes out.
The honest thing to sit with is that home canning has real failure modes, and the pop doesn’t eliminate them. The best thing you can do is follow a tested recipe from the NCHFP or the Ball book, check your equipment before every batch, and stay skeptical of any jar that seems off. After twelve ruined jars, that skepticism is the most useful thing I’ve developed.