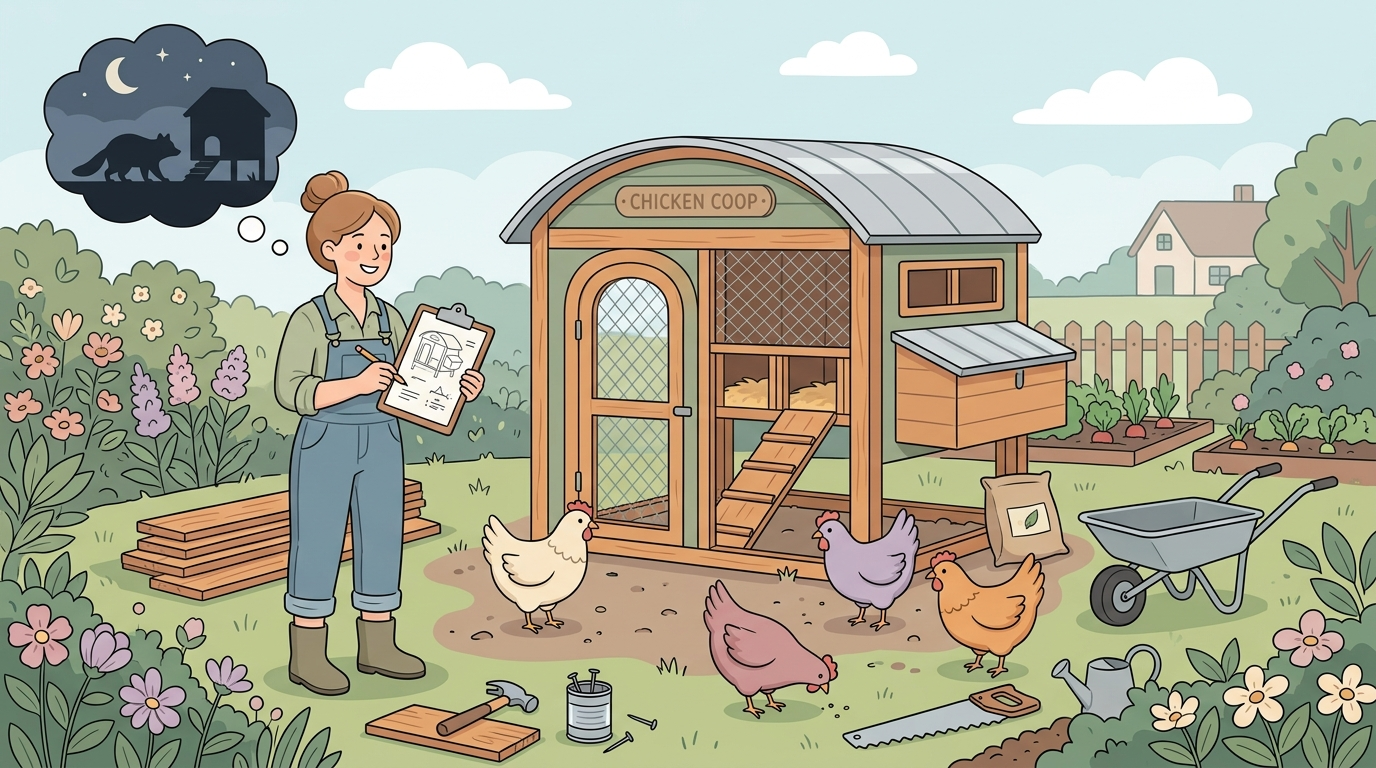
Backyard Chicken Coop DIY Plans for Beginners: The $200 Mistake We Made (And Didn’t Catch)
“Just find a free plan online and build it over a weekend” is the advice I got from three different people before we got our first chickens. And look, they weren’t wrong exactly—you can find backyard chicken coop DIY plans for beginners all over the internet. The problem is that most of them were written by someone who either got lucky or hasn’t lost a bird yet. We lost two hens in our first year because the plan we used didn’t account for a single thing a raccoon is willing to do at 2am when it’s determined.
We’re three years in on our five acres here in rural Tennessee. Twelve chickens now. We’ve rebuilt parts of the original coop twice. The second rebuild cost us over $200 in materials we wouldn’t have needed if we’d caught the problems before the first board went up. This article is about what those problems were and how to spot them before you’re standing in mud at the hardware store buying hardware cloth you didn’t budget for.
What Most Beginner Plans Don’t Tell You
Free plans online are optimized to look achievable. They’re not optimized to keep your birds alive through year two. Before you cut a single board, understand what the plan in front of you is actually missing.
- Predator-proofing specifics vary wildly by region. A plan designed for a suburban backyard in Oregon isn’t built for rural Tennessee, where we have raccoons, possums, foxes, and the occasional coyote. Chicken wire is not predator-proof—it keeps chickens in, not predators out. Hardware cloth (the actual welded metal mesh, not chicken wire) in 1/2-inch gauge is what you need. Most beginner plans either don’t specify this or bury it in a footnote.
- Floor design is the most skipped detail. Raised floors with hardware cloth underneath sound annoying to build. They’re worth it. Predators dig. A coop sitting flat on the ground with a wood floor is an invitation. Either pour a concrete apron around the perimeter, bury hardware cloth at least 12 inches down and bent outward at a 90-degree angle, or elevate the whole structure.
- Ventilation square footage is rarely specified. You want roughly 1 square foot of ventilation per 10 square feet of floor space, minimum, placed high on the walls so drafts don’t blow directly on roosting birds. Plans that say “add a vent near the top” without dimensions are leaving you to guess.
- Roost bar height and spacing matter. Twelve to eighteen inches between roost bars, with the highest bar no more than two feet off the floor for heavy breeds. Bars set too close together mean birds fighting. Too high means breast injuries from landing. Most plans skip this entirely.
- Door security is treated as an afterthought. Spring latches fail. Raccoons can work them open—this is documented and not an exaggeration. You need a two-step latch or a carabiner over the handle at minimum. If your plan doesn’t address latch type, add this yourself.
- Nesting box placement affects egg cleanliness. Boxes should be lower than the roost bars, or birds will sleep in them and soil the eggs. It sounds obvious. It wasn’t obvious to us until we had dirty eggs for two weeks and couldn’t figure out why.
The eXtension Poultry website has solid research-based guidance on coop ventilation and space requirements if you want numbers that aren’t just someone’s opinion.
The First Build (February, Overconfident)
We built our first coop in February of our first year here. The chickens weren’t arriving until April, which felt like plenty of buffer. Ben found a plan on a homesteading forum he’d been reading since November—he does this thing where he deep-dives into a topic for months before doing anything, then builds fast. The plan was for a 4×8 coop with a small attached run, built with 2×4 framing and plywood siding. It looked solid. It photographed well. The person who posted it seemed to know what they were doing.
Ben had it framed in a weekend. I painted the siding. We were both pretty pleased with ourselves, which is usually when something is about to go wrong on this property.
He did mention once, while we were attaching the chicken wire to the run, that it felt thin. “You sure this is the right stuff?” I told him the plan called for chicken wire and the plan seemed fine. He shrugged and kept stapling. We should have stopped there.
The chickens arrived in April. By early June, something had gotten into the run. We found feathers and not much else. The chicken wire on one corner had been pulled back—not cut, pulled. Something had grabbed it and worked it loose from the staples.
How to Identify a Plan That Won’t Fail After 6 Weeks
Before you commit to any set of coop plans, run through this list. If the plan can’t answer these questions, find a different one or modify it before you start.
- Does it specify hardware cloth instead of chicken wire for the run and any ventilation openings? If it says “chicken wire” without qualification, that’s a red flag.
- Does it address what happens underneath the coop? Look for a concrete apron, buried wire, or an elevated floor with hardware cloth on the underside. If the plan just sets the coop on the ground with no mention of digging predators, that’s a gap.
- Are ventilation dimensions given, not just “add vents”? You need actual square footage relative to floor space, and placement should be specified as high on the wall.
- Does it account for your flock size with realistic space? The standard minimum is 4 square feet per bird inside the coop, 10 square feet per bird in the run. If the plan says 8 birds fit in a 4×4 space, do the math yourself.
- Is latch hardware specified? Any plan that doesn’t address how the doors close and lock is leaving the hardest part up to you.
- Are roost bars detailed—height, diameter, spacing? A 2-inch diameter bar is easier on bird feet than a sharp-edged 2×4 used flat. Some plans show this, many don’t.
- Is there separation between roost height and nest box height? If the nesting boxes are at the same level or higher than the roosts, birds will sleep in them.
The University of Tennessee Extension has poultry housing resources specific to this region if you want a baseline from people who know Tennessee predator pressure.
- Most free coop plans skip predator-proofing specifics, ventilation dimensions, and latch hardware.
- Chicken wire is not predator-proof. Hardware cloth is.
- We lost birds and spent $200+ on retrofits because of a plan that looked fine but wasn’t.
- Cheap materials (thin plywood, chicken wire, light-gauge staples) cost more over time than doing it right once.
- Whether extensive planning would have prevented all of it—genuinely not sure.
Does Ventilation Actually Matter If the Coop Faces North?
We got into a back-and-forth about this with a neighbor who’s kept chickens for twenty years. Her coop faces north, has minimal ventilation, and her birds are fine. Our coop faces southeast, has more ventilation, and we still had a respiratory issue in our second flock during a particularly wet spring.
The standard advice says orientation matters—south or southeast facing in the northern hemisphere, protected from prevailing winds. But Tennessee weather doesn’t always cooperate with cardinal directions. Our coldest winds come from the northwest, our wettest weather from the southwest. The southeast-facing opening that was supposed to be ideal for winter sun also catches the worst of our spring storms.
What I’ve read suggests that ventilation placement matters more than coop orientation in mild climates like ours. In Zone 7a, we don’t deal with the brutal cold that makes every draft dangerous. We deal with humidity. High vents that allow moisture to escape without creating direct drafts seem more important here than which wall faces which direction. But I can’t tell you with confidence that I’ve solved this. We modified the vents twice. The birds seem fine now. Whether that’s because of what we changed or just a drier year, I genuinely don’t know.
The Predator Thing Nobody Plans For
After we lost the two hens in June, we went back to the run and looked at it properly for the first time. The chicken wire was 20-gauge, which is thin enough to bend with your hands without much effort. The staples holding it to the frame were standard poultry staples—1/2 inch. Something had grabbed the wire at a corner where it met the door frame, an area with no framing directly behind it, and pulled. The staples let go cleanly. The wire folded back. The whole thing took maybe thirty seconds.
Replacing the chicken wire with 1/2-inch hardware cloth cost $85 for the roll we needed. The hardware cloth staples—the wider, heavier kind—were another $12. We added a secondary frame around the run’s perimeter at ground level, which required additional lumber and screws: about $60. Then we dug down 12 inches along the run perimeter and bent hardware cloth outward in an L-shape to stop anything from digging under, which took most of a Saturday and cost another $40 in wire and time.
Total retrofit: roughly $200, not counting the afternoon of labor. All of this was in the original plan’s comments section—other people had flagged the chicken wire issue months before we built it. We didn’t read the comments.
- Standard chicken wire on the run (got pulled back at the corner within 6 weeks)
- 1/2-inch poultry staples to attach wire to framing (not enough holding strength)
- No perimeter dig guard of any kind
- Spring latch on the run door (switched to a deadbolt-style barrel bolt with a carabiner)
- Trusting that a plan with good photos had been tested over time
Spending More Money Actually Saved Us Money
The original build cost about $280 in materials—plywood, 2x4s, chicken wire, basic hardware. It felt like a win. Then we spent $200 retrofitting it, which brought the real cost to $480. If we’d used hardware cloth from the start instead of chicken wire, the difference in material cost would have been maybe $60. If we’d bought a heavier-gauge plywood for the floor—3/4 inch instead of 1/2 inch—we’d have avoided the soft spots that showed up in the second winter from rain coming up through the ground.
So the math is pretty clear in our case. But I want to be honest that it’s not always that simple. We have a friend who built a coop out of mostly reclaimed lumber and old metal roofing, spent almost nothing, and it’s held up for four years. The difference is that she knew what she was doing and could evaluate material quality herself. We were guessing. When you’re guessing, buying the better version of something is how you avoid an expensive lesson.
The specific materials worth spending on, based on what failed for us: hardware cloth over chicken wire (non-negotiable), exterior-grade plywood or T1-11 siding instead of interior-grade, and decent hinges with stainless steel screws rather than the coated ones that rust out in one winter. Treated lumber for any framing that contacts the ground. Those four things would have added maybe $80 to the original build and saved us the retrofit entirely.
“The plan had great photos. We didn’t read the comments. Someone had flagged the chicken wire problem months before we built it.”
Planning vs. Just Building (And Which One Worked Better)
Ben’s position is that we would have figured it out either way. His reasoning: the plan was flawed, more research into that specific plan might have turned up the issues, but we also might have found a different bad plan and had different problems. At some point, he says, you build the thing and see what breaks.
I mostly agree with him, which is uncomfortable to admit because I over-research everything and I want research to be the answer. I spent more time looking at chicken coop designs than I did looking at that specific plan’s track record with actual predator pressure. That was the mistake. Not failing to plan—planning in the wrong direction.
If I could do it again, I’d spend less time on the build itself and more time on two questions: what predators are actually present in my area, and what has failed in plans like this one. For Tennessee specifically, that means raccoons and digging predators at the top of the list. A five-minute search on raccoon dexterity with standard latches, before we bought any hardware, would have changed what we bought. That’s not extensive planning. That’s just knowing the right question to ask.
The thing worth knowing before you build anything: find a plan that has been used by people in a climate like yours, with predator pressure like yours, for at least two years. Not a plan that looks good. A plan that has been tested. The Backyard Chickens community forum has years of build logs with follow-up posts—that’s where you find out whether a plan held up, not in the original post.